A four poster bed DIY chalk paint makeover…
Let’s talk about DIY chalk paint. But first, I gotta tell you a crazy story…
The other day, while driving home, I passed a hitchhiker on the roadside. This forlorn fellow was clearly down on his luck. It was one of those moments when you think, “Gosh, is there something I can do to help?” That’s when I hear my wise mother’s voice in my ear… “Don’t you dare think about stopping the car, Heather!”

As my mother would undoubtedly tell you, I am, by nature, a rules follower mostly. But I am also a massive pain in the arse…and it was that stubborn streak that made me pull to the side of the road that day.
I picked up the hitchhiker.
Here he was:

A little rough around the edges, perhaps. Certainly a lot down on his luck. But definitely full of potential and wanting a little bit of a break to come his way. We decided to give this guy a little hand. It started with some repair work.
There were parts of the frame that were chipping and fractured, so that got addressed. In the middle of the headboard there was some ornamentation that had clearly broken off, so we got out the jigsaw and reworked the top piece a bit.
Click here to have a free copy of “10 Totally Transformational Decorating Ideas – All Under $100!” emailed to you today!
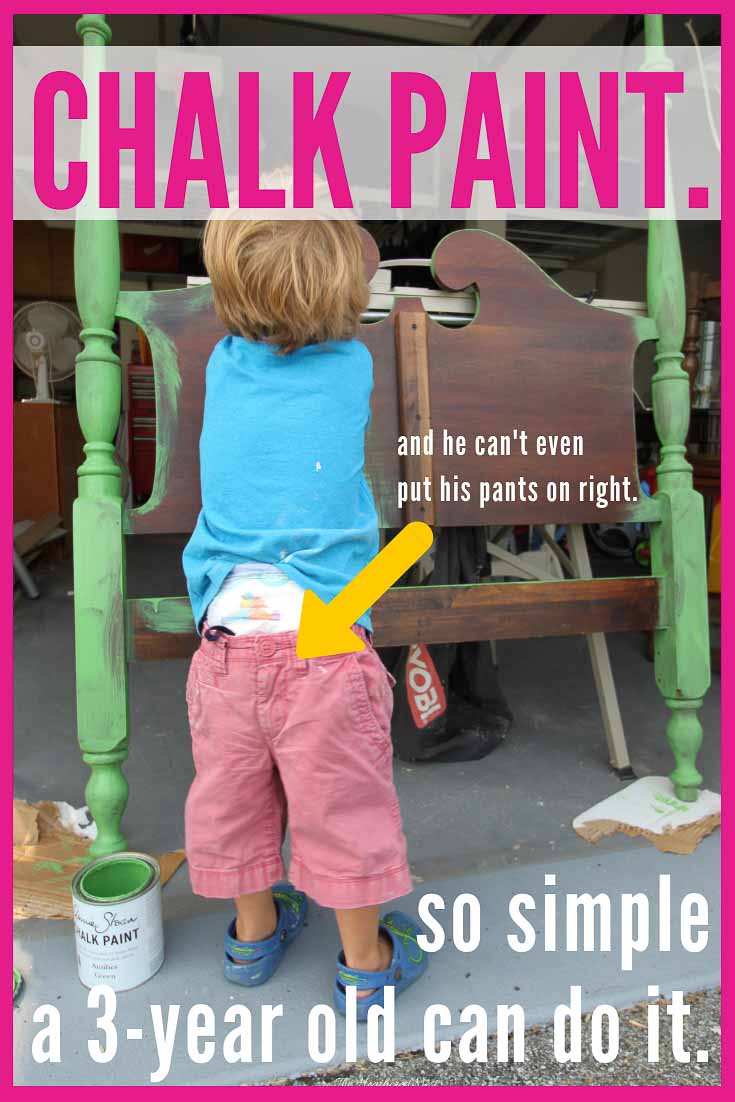
Then came the DIY chalk paint. I know I said DIY, but I kinda outsourced that job this time around…

You see, this is one of the things I *LOVE* about chalk paint…it’s so easy to do, and so forgiving, that ANYONE, even this guy…yeah, the guy who can’t even put his pants on the right way…even he can re-finish furniture with this stuff!

I’m not even joking.
Here’s what you’ll need to tackle your own chalk paint project…

DIY chalk paint supplies:
- chalk paint (for this project, we used Annie Sloan Antibes Green)
- chalk paint brush
- clear furniture wax (Annie Sloan clear wax)
- wax brush
- sandpaper, various grit levels
- slightly damp rag for dust removal


On Being Bianca ... says
I would say this is one hitchhiker worth the risk! I adore the pop of bright green with your re-do! Thanks for sharing at the Pretty Preppy Party. You know I'm such a fan of every project you do! xx, b @ being-blanca.com
Tasha @ Designer Trapped in a Lawyer's Body says
Another stunning project from you, Heather! I am featuring this on Think and Make Thursdays tomorrow–thanks so much for linking up. LOVE that green color and kudos to you for rescuing this gem of a bed! Love it!
Rhonda @ home.made. says
That is gorgeous – love Antibes Green! Makes me want to find a high post bed like this for my daughter and get rid of her trundle!