A quick, easy and adorably colorful DIY Easter basket liner made with a bandana…
If you’re looking for a cute, quick and budget-friendly Easter basket liner, this is the perfect idea! You’ll learn how to make a DIY Easter basket liner from a Dollar Tree bandana in just minutes!
This basket liner may be the easiest DIY project we’ve ever posted, frankly!

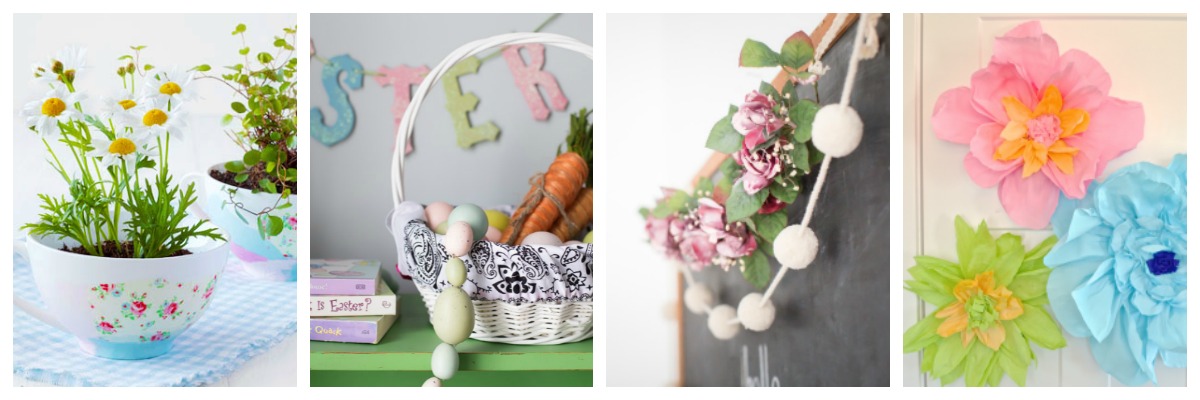
And I’m pumped to share it with you along with a BUNCH of other wonderful spring DIY projects from some wonderful women in the DIY and home blogging world.
Thanks so much to Krista from The Happy Housie for bringing the group together!
As far as today’s project goes, we made this basket liner for the kids’ Easter baskets. But this would look so cute at ANY time of year!
Something to put utensils or condiments in for a BBQ in the summer, perhaps?

Besides taking less than 5-minutes to make, this project will cost you $1.
Maybe a little more if you don’t already have a stash of ribbon around the house. But either way, it’s not a budget-buster.

Supplies needed for your basket liner:
- (1) bandana, color of choice (I used a 22″ bandana for the size basket I have. If you have a LARGE basket, you may need (2)
- ribbon of choice (we used a green/blue bordered grosgrain for one and pink for the other)
- iron
- basket
- sewing machine to stitch (2) straight seams. You could also try liquid stitch fabric glue
Here’s a quick video that will show you how to make your bandana basket liner in a flash!

DIY basket liner video tutorial:
How to make a 5-minute (or less) DIY basket liner for Easter:
1. Determine how many bandana(s) you will need.
We only used one bandana for our basket liner, but if you are trying to line a HUGE basket, you’re going to need more.
But no worries, if you need more than one, you can just stitch (or use fabric glue) two or more together end to end.
Basically, you need enough bandana to completely cover the interior of the basket, plus have enough material remaining to cascade over the edges of the basket by a couple of inches.

Don’t get super hung up on this…just ballpark it. We used a pretty “typical” sized basket…about 10″ round, with a depth of about 4-5″, and one 22″ bandana was enough material.
If you’ve decided you need more than one bandana, go ahead and sew them together end to end now
2. Iron bandana(s) to remove creases.
First, iron the bandana to remove all the creases.

3. Fold 2 edges, and iron.
Now create two channels for the ribbons. We’ll do this by folding one side of the bandana, about 1″-2″. The size of your fold will depend on the thickness of the ribbon you plan to use.

Fold one edge. I used the pattern on the bandana to help me make a straight fold (who has time to measure and all that nonsense 😉
With your fold in place, iron it to keep the crease intact. Repeat the fold and ironing process on the OPPOSITE side of the bandana.

4. Place ribbon in the creases, and pin.
Cut (2) lengths of ribbon. They should be as long as the bandana, plus approximately 4-6″ extra beyond both ends.

Pin the ribbon and creases into place in preparation for sewing.
Your bandana should look like the image below before moving on.

5. Sew (2) straight seams.
Now simply stitch a straight seam in order to create a channel for the ribbons on both ends of the bandana.
Once you’ve done that, YOU’RE DONE!

Simply place into your basket, and tie the ribbon in a bow on either side of the basket.
An adorable Easter basket liner that you just whipped out in about 5-minutes, for a whopping $1 each. Can’t complain too much about that, eh?

If you like crafting with bandanas, or are looking for more Easter decorating inspiration, you’ll love these ideas, too!
Now MAKE SURE you check out some of these super spring-y ideas from the talented women below! So many happy spring projects.

Check out the rest of these gorgeous spring DIY and craft ideas!!

The Happy Housie / Duke Manor Farm / Bless’er House / Place of My Taste

Town & Country Living / Zevy Joy / The House of Wood / Craftberry Bush / Shabbyfufu

Paint Me Pink / Heathered Nest / Newly Woodwards / Amber Tysl
Pin this post for later! And if you make one, leave a comment (or better yet, a photo) on the pin! That helps others know whether they want to try this project, too!

Pssst…before you go, I sure would love to hang out with you again really soon! Sign up now and get a FREE copy of “Builder-Grade To Beautiful: 10 Totally Transformative Home Decorating Solutions, All Under $100!” Click here to enter your email or on the image below. Your copy will be sent right away!


Krista says
This is perfect, Heather! Such a fantastic spring DIY idea – I love how sweet these basic baskets look with these liners!! Thanks for joining in on this hop!
Kim says
What a cute idea!! Love the idea of doing it for 4th of July, too. And I never would have guessed this was just a few straight lines of sewing and ribbon
JenWoodhouse.com says
This is genius, Heather! I love this project – you make it look so easy, even for a sewing novice like myself! xo