


How to create a beautiful, fabric DIY flower lampshade…
Lampshades are typically a must. But often, they are sorely lacking in personality, am I right?
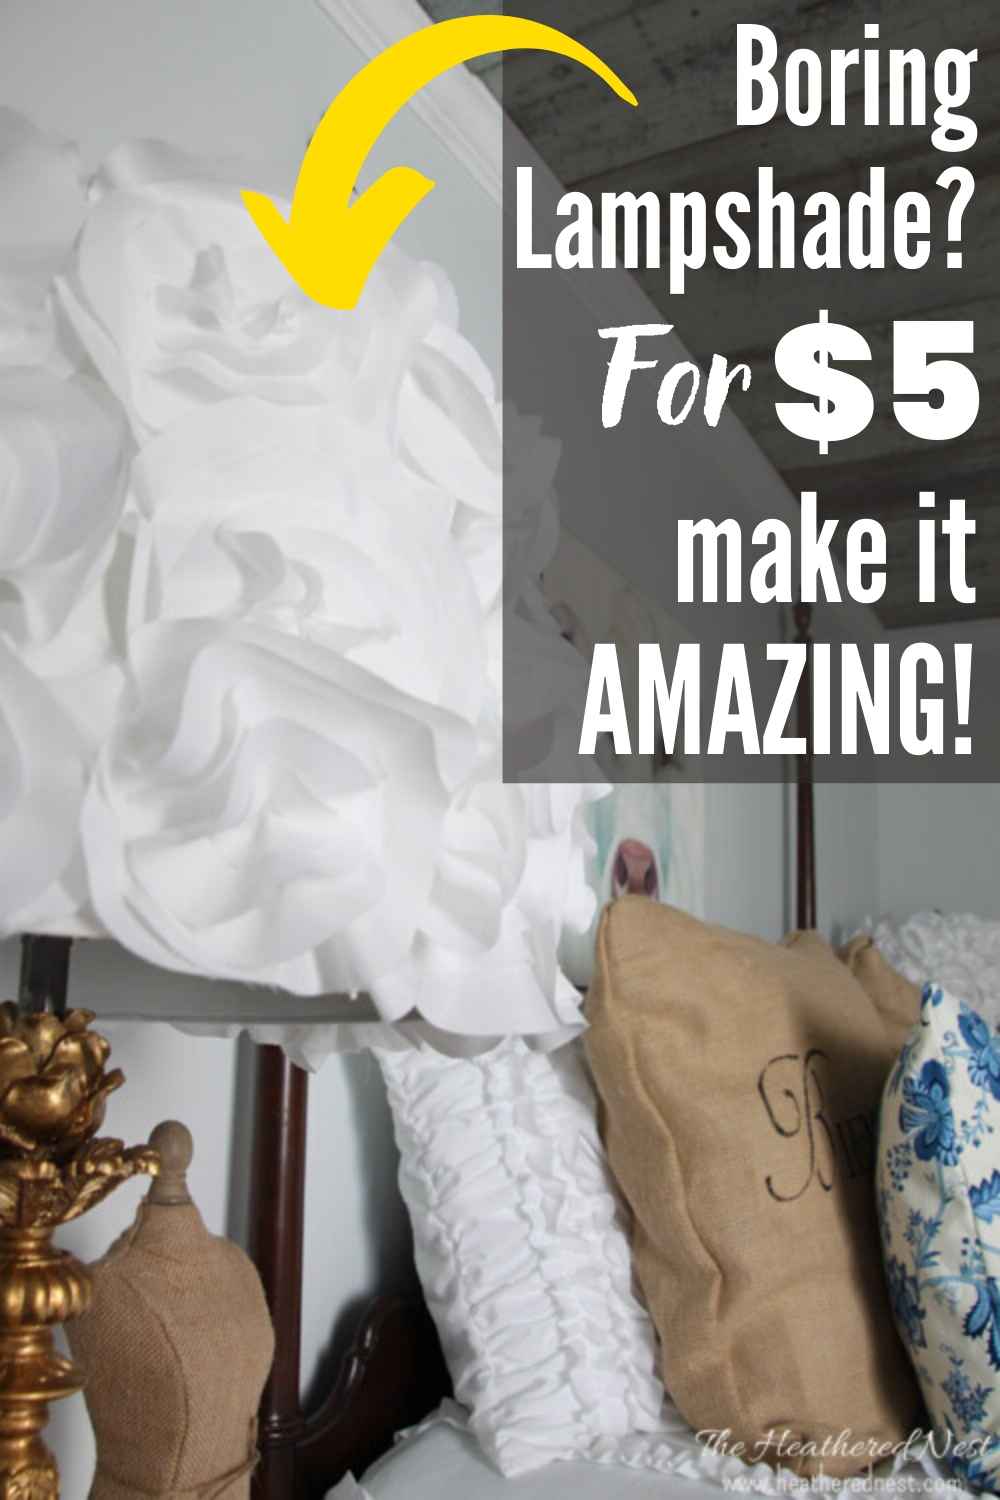
Well, check out our version that is anything but devoid of fun! Here’s how you can create your own glam, DIY flower lampshade(s), like I did in our guest bedroom, once upon a time…

There’s a lot to look at in what I’d call our glam modern farmhouse guest room, so these guys often don’t get much attention, but I love them.
Creating these floral lampshades is not a difficult DIY project, and I’m going to show you how you can make your own.


DIY Flower Lampshade Supplies:
- Circle cutting tool
- fabric (choose something semi-sheer, thin and inexpensive)
- hot glue/hot glue gun
- lampshade of your choice
- patience and a bit of time
Why patience? Mostly because those shades can definitely take time. Like h-o-u-r-s (around 3 per shade) to make, but in terms of difficulty, they are not hard to make AT ALL.
You just have to embrace the monotony of cutting out hundreds of fabric circles.
Here’s a video overview of the process…

DIY Flower Lampshade Video Tutorial
How To Make a DIY Flower Lampshade
1. BUY A CIRCLE CUTTING TOOL.
Do not pass go without purchasing a circle cutting tool. Or go ahead, and try this with your scissors, but don’t say I didn’t warn you 😉
I bought the OLFA rotary cutter. Will run you about $14-16. There’s even a YouTube video (actually a page of them) on how to use it. Watch one before you start your circles.
2. BUY YOUR FABRIC AND CUT (And cut. And keep cutting).
As far as fabric goes, that’s obviously a matter of taste, but keep in mind, this is going on a lampshade, and the purpose of a lamp, of course, is to let in light, so very light and sheer fabrics work best.
The fabric I used is a very light, inexpensive polyester semi-sheer. Ran about $2-3/yard, and I purchased 2 yards for two drum shades that measure 14″ in diameter x 10″high.
If the material you choose is also inexpensive, buy a little more yardage just to be on the safe side.
Now, decide on the size of your circles. My flowers are made of six circles each, the largest diameter being 6″ (the largest my circle cutter will make), and the smallest being approx. 1″ in diameter.

3. ASSEMBLE YOUR FABRIC FLOWERS.
After you’ve made a sizable stack of your circles start assembling them. For me, this step involved a lot of hot glue burns. If you come up with a better way, FANTASTIC.
I’m too lazy to take precautions (which is why I have no nerve endings left in my hands).
Stack your set of circles, largest on the bottom, smallest on top.
Grab the stack from the center of the bottom circle by pinching the whole set of circles together (this material is NOT what I used for the project, just using this for illustrative purposes).

Now dab some hot glue here and there, between the layers, staying toward the centermost area. Hold that pinch until the glue starts to set a bit (only about 5-8 seconds).
Release, and voila! You have a flower. Don’t get too excited here because you now have to repeat that step about a thousand times.

4. GLUE FLOWERS TO LAMPSHADE.
Again, be miserly with your hot glue because globs of hot glue can show through the shade if you’re not careful.
I glued just the very center of the flowers, plus, if there were areas where the outermost layers of the flower were “flopping” in a way I didn’t like, I would put a teeny, tiny amount on the edges to hold those in place on the shade as well.

On my DIY lampshade, I ended up with 10-11 flowers per “row”, and three rows (top to bottom) total, per shade.
This will vary, depending on size/shape of your shade. Play with how dense you make the flowers, as that will definitely change the look of your end result.

5. ENJOY the “light” at the end of a long, but worthwhile DIY project tunnel!

I love these DIY lampshades. And although they have some stiff competition for attention in this room from our little chandelier, and of course, Bessie the cow..

I still think a DIY lampshade like this one adds some beautiful texture, depth, and interest to this space. Hope you’re inspired to try your hand at this project too! And if you make your own DIY flower lampshade, let me know how it turns out!

Looking for more budget-friendly lighting ideas? We’ve got you covered! Be sure to check these ideas out, too!
Pin this DIY flower lampshade project for later! And if you make one, leave a comment (or better yet, a photo) on the pin! That helps others know whether they want to try this project, too!
Pssst…before you go, I sure would love to hang out with you again really soon! Sign up now and get a no-cost copy of “Builder-Grade To Beautiful: 10 Totally Transformative Home Decorating Solutions, All Under $100!” Click here to enter your email or on the image below. Your copy will be emailed right away!




judy says
Love this! Where did you get the cow print? thanks
Donna says
This is so pretty! Pinning to my “must do hacks”. And I LOVE your bedroom!!
Jessica says
Just made mine! I used too few flowers unfortunately so it doesn't look as good but I'm still happy with it. I'd upload a photo of I could!
Heather says
AWESOME!!! Any tips for anyone else you can think of?? Go upload a pic on my facebook page! I want to see!!
Lora says
Perfect!! thanks
Kyla @HouseOfHipsters says
Cute! Cute! Cute! And I'm with Gilly. I admire you for cutting out all those circles! Yowza!
Gilly @ Colour Saturated Life says
I admire your commitment to cutting it all those circles!
Carol TheAnswerIsChocolate says
The end result is worth the work. Just stunning! I'm featuring when my link party opens up tonight!
elaine @cookinandcraftin.com says
Too cute!! I love them…even if it took you forever…the results were stunning!! Thanks for sharing on My 2 Favorite Thing on Thursday!! Come join the party again next week!!
Jess says
Oh my gosh…what a cute idea! Love it!
Thanks for joining the Link Up this week!
Brocanteuse Rose says
Love this! Just not sure I have the patience for it. Definitely a snow storm/movie kind of project. 🙂
Larissa Prodigal Pieces says
It's gorgeous and I have 5 kids with cutting capabilities….hahahaha…will have to get them started. :o) I'll be featuring your lovely in the "What's YOUR Prodigal Piece?" link party tonight!
Grace The Big Reveal says
Too cute! I hope you will share it tonight at the Found & Foraged Linky Party! The party starts at 8PM CST! Hope to see you there http://www.thebigrevealblog.com
avery street design says
These are really pretty and worth that investment of time! (I also love your bedroom ceiling and that cool cow picture!) I recently did something similar with coffee filters on a lamp shade. I folded all of them into little triangles to make scalloped ruffles on the shade. Hopefully if I ever get around to redoing my daughter's room they'll find a nice home there. The look is just so pretty and romantic! I'm stopping by from the Kathe with an E party. I'd love to have you join mine called "Found & Foraged" on Saturdays, 8 pm, at http://www.averystreetdesign.com. Hope to see you!
Kammy Wielenga says
So I was going to comment on how amazing the lampshade looked… and then noticed Bessie and love her… and then the CEILING, and the bedspread…. and holy smokes this is just one awesome room! I would love for you to share over on Trash 2 Treasure Tuesday! 🙂 http://www.kammyskorner.com/2014/11/trash-2-treasure-tuesday-link-party-and.html
Jennifer Dawn Oliver Shelton says
This is such a lovely lamp, and it goes so nicely with the room. I love the technique1
Holly {McCall Manor} says
Love Love Love this! You've been featured at McCall Manor today! Thanks for linking up to the party. 🙂 http://www.mccallmanor.com/craft-projects/spotlight-on-you2987/
AnnMarie aka Vintage Junkie aka NaNa says
I love this lampshade! Pinned it to my I Have to Fix My Lampshade board!
Alexis AKA MOM says
Beautiful! I so would love this in my bedroom.
Rachel Beach says
This just screams beautifully romantic. Love it! Also love your ceiling. It is so cool and unexpected.
Bev Carter says
Your lamp shades are beautiful. I need to do something in my guest room. Maybe I will try this.
Thanks for sharing,
Bev
Sharon @ Elizabeth & Co. says
Love the texture of your shades. And the girly factor is a nice contrast to the more rustic elements in the room!
Kelly says
This turned out so pretty. I love it! Pinning and sharing!
Emily Thompson says
that is SOOO pretty. I want to make one this weekend. AND I love you ceiling, wow! Thanks for sharing at the Create Link Inspire party. You are being featured at Nap-Time Creations this weekend and I've spread your project around my social media… Hop on over and check it out. Happy Weekend! Emily
Debi @ Adorned From Above says
This came out so cute.
Debi
Christie Selken says
The lampshades are gorgeous. Great job! They blend in perfectly with the rest of the room.
Heather says
Thanks so much Christie!
Amber L. says
It's gorgeous. I just pinned 🙂
Laurel Stephens says
What a gorgeous lamp shade! Wonderful!
Amy W says
This lampshade is STUNNING. And I love that wood on the ceiling, perfect touch!! Please come share at our link party going on now, if you've not yet!
http://www.delineateyourdwelling.com/2014/08/link-it-or-lump-it-party-52-features.html
Trish Martin says
The lamp is gorgeous.
Deana says
That lamp shade is adorable. I love everything about your room. The ceiling is sooooo cool!
Kallie @ But First, Coffee says
Came out so beautiful! Side note, I'm obsessed with the ceiling!! So gorg!
Suzan Sweatman says
They turned out beautiful – what a fantastic job you did on them !!!
Thanks for sharing
xox
Heather says
Thanks so much Suzan!
Jamie says
Very nice but I'm going to buy one of those circle thingy cutters b4 I try to do this