


Easy $7 DIY Marshmallow Peeps Wreath Done In 15 Minutes!
If you are looking for a simple spring wreath idea this year, then this DIY marshmallow Peeps wreath might be right up your alley!
It’s colorful, fun, and you can make your own for as little as $7 in just around 15-minutes! Interested? Great! Let’s spring right into the project!
Before you begin your Peeps wreath
You can choose to create this Easter wreath with either Peeps chicks, OR Peeps bunnies. I picked the rabbit Peeps because that was what was available at my local Dollar Tree, which is a great place to pick up the supplies you’ll be needing.
In fact, you should be able to find everything you need for this spring craft at a Dollar Tree, Dollar General or another similar store with the exception of the acrylic sealant and possibly spray adhesive. I’ll link my favorite brands for those items in the supply list below.
Here’s what you’ll need to get going on your spring wreath project…

Supplies Needed for your Marshmallow Peeps Wreath
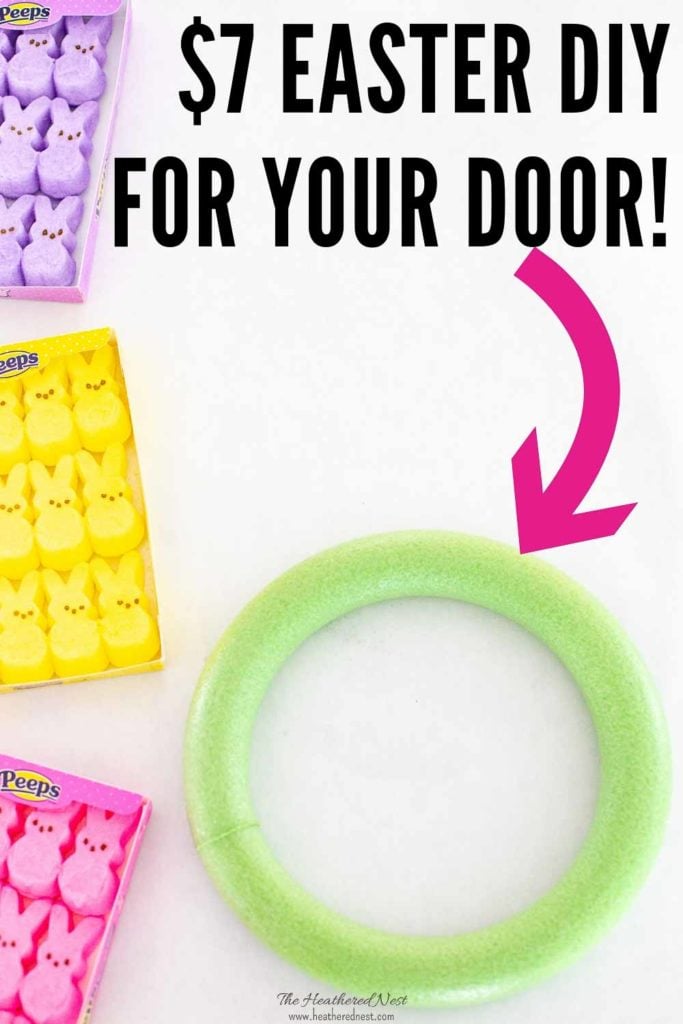
- Foam wreath form (you can use any size – ours was a 12″)
- Peeps, various colors (we used three boxes)
- Easter grass, various colors
- Spray adhesive
- Glue gun (only if you’re wanting insurance that the Peeps will stay put! I didn’t bother)
- Toothpicks
- Acrylic sealant
Depending on your learning style, feel free to watch the video tutorial below, read the instructions below the video, or both!

2-Minute Peep Wreath Video Tutorial
How to Assemble your DIY Spring Marshmallow Peeps Wreath
1. Place Peeps in Freezer.
Before you begin, prep yourself for success! Peeps are sticky and messy to work with when they are at room temperature.
You can either choose to open the packages and let them sit up to “go stale” for a few days and dry a bit…but let’s face it, there are enough preservatives in those things to likely keep them going strong for years.

So, if you don’t have enough time or patience to wait that long, just stick them in the freezer.
Once they are hardened up (at least 45 minutes to an hour), you’ll be ready to roll.
2. Use Spray Adhesive to attach Easter Grass.
Grab your spray adhesive, and give one side of your wreath form a good dousing.
Be sure to read the instructions on your particular brand of adhesive…most will require the glue to set up for about 30 seconds to a minute before attempting to attach anything.
*Tip: spray adhesives tend to be stinky…try to do this outside or in a really ventilated area.
You can choose any color Easter grass you’d like to use! Mine was more of a paper-type grass than plastic, but I think either would probably work just fine.

3. Remove Peeps from Freezer and Attach.
Provided you’ve given your Peeps enough time to harden up in the freezer, go ahead and take them out.
Grab a toothpick. With the wreath-laying face up (grass facing you) on a flat surface, position the first Peep as desired on the wreath.
Then, flip the wreath over and stab a toothpick through the foam, and into the Peep. Don’t allow the toothpick to go all the way through the Peep, but far enough that it feels secure.
Continue this process around the perimeter of the wreath. The closer together you place the Peeps, the more stable the overall wreath will become.
4. Spray with an acrylic sealant to preserve your Peeps wreath.
You may be wondering, “How do I preserve my adorable Peeps wreath?” Well, I’m glad you asked. I’m betting you may also be wondering, “How do I keep little 6-legged friends from flocking to new spring wreath in droves?”
Also a great question. And here’s the simple solution: I’d suggest spraying the heck out of your wreath with a spray acrylic sealant.
Choose whatever finish you’d like (matte, glossy, etc)…we used satin, and spray the wreath thoroughly. Allow wreath to dry.
*Tip: Just like the spray adhesive we used, this spray sealant tends to be stinky. Do this outside if at all possible, or in a very well-ventilated area at the very least!

All that’s left to do is hang your new marshmallow Peeps wreath!
I made a couple for our house. We have one in our foyer, and another in the master bath.

Some will be concerned about the wreath attracting little critters. The acrylic sealant really does the trick for keeping insects at bay…at least so far!
I definitely haven’t noticed anyone salivating over this wreath yet, but I’ll let you know if that changes!

Happy spring!! I sure hope you like this easy DIY wreath idea! This was definitely easier than the terra cotta pot spring wreath I made last year! It turned out great, but took A LOT more time to complete!
Not ready to start? You can pin this spring wreath idea for later⤵️!
And if you make one, leave a comment (or better yet, a photo) on the pin! That helps others know whether they want to try this project, too!

Pssst…before you go, I sure would love to hang out with you again really soon! Sign up now and get a no-cost copy of “Builder-Grade To Beautiful: 10 Totally Transformative Home Decorating Solutions, All Under $100!” Click here to enter your email or on the image below. Your copy will be emailed right away!


Kristin says
This is adorable Heather, Love it!
Heather says
Thanks buddy 🙂 Happy Spring, friend!! Tell your family “hi” for me!!
Amber says
I love this! So fun and bright!
Heather says
THANKS Amber!!! Love your wreath, too!!