


How to create a colorful pom pom tree…
I’m no expert when it comes to pom poms. At least the rah-rah kind, that is. Although I would have LOVED to be the cool, popular, cheerleader type…

I was more the nerdy, bookworm-type who never snuck out of the house (why bother? I had nowhere exciting to be), didn’t even once crack open a beer (I had no idea what I was missing).
But although I couldn’t make the cut in cartwheeling crowd wearing the sassy cheer skirt…this geeky gal does know a thing or two about the other kind of pom pom. The colorful, fuzzy, miniature kind.
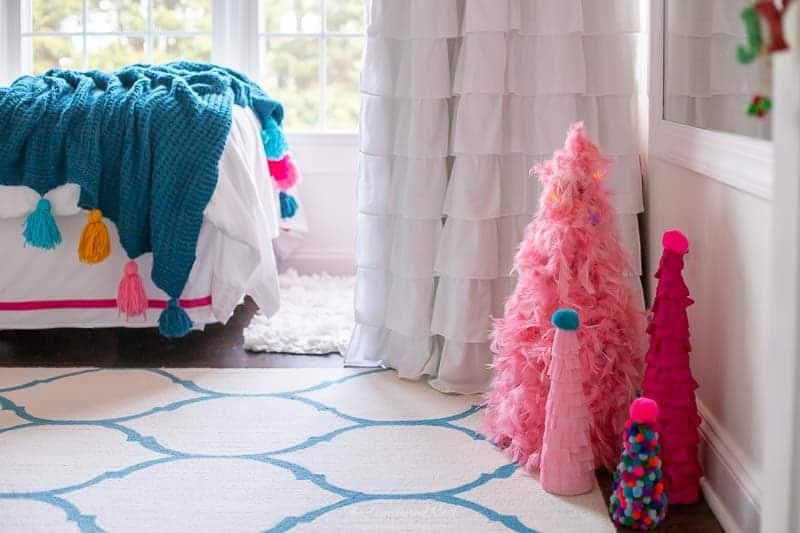
After my daughter and I made a super fun pom pom pumpkin this fall, we decided that we needed a pom pom tree this Christmas, as well.

And this project is so simple it’s almost embarrassing to even call it a project. Just to give a frame of reference. On a 0-10 scale of “crafting difficulty”, I’d describe building a gingerbread house with your kids as somewhere around a 27.
Meanwhile, this little pom pom tree would be lookin’ real attractive at a solid negative 2.
This one-minute video will show you how to make your own pom pom Christmas tree…

As far as supplies go, here’s what you’ll need to make your own little pom pom Christmas tree…

Supplies needed to make a pom pom tree Christmas craft
- Styrofoam tree form
- Pom Poms – I used this specific brand/color mix
- If you prefer more traditional Christmas colors, here’s a great option
- hot glue gun
How to make a pom pom tree Christmas craft
1. Warm-up your glue gun.
Guys, this project is so easy, I’m including this as a step so that it actually looks like a real attempt at a DIY project.
2. Glue pom poms onto the foam crafting cone.
I used a super small foam tree form for this project. It’s only about 8″ tall, but you can choose any sized tree you like.
The small ones you can often even find at the Dollar Store, or similar spot. You can get larger ones from the craft stores, but I think the prices on Amazon are often better.
Start gluing the poms onto the tree starting at the base. Make sure you place them low enough so that you won’t be seeing styrofoam peeking out underneath them.
At the same time, don’t place them so low that it will make the tree stand in a wonky, off-kilter way.

3. Pom pom tree assembly tips…
Glue your poms on in a RANDOM way in terms of placement of colors, and even size of the poms.
We used poms of 2-3 sizes and a bunch of colors. I tried to make sure that I didn’t place two identical pom poms next to each other, but other than that, I really tried NOT to plan out the placement too much. We don’t need a fussy tree. Fuzzy? Yes. Fussy, no.
Make sure that you’re gluing the pom poms on in a way that you don’t see gaps between them. Don’t jam them in there so tightly that they look squished, but you don’t want to see foam peeking through all over your tree.
4. Add a Tree Topper (if desired).
We decided to use a larger pom pom as a tree topper, but you could do so many other things here. Maybe make a felt star? Use a little ornament…it’s really up to you.

I hope that this cute little Christmas craft brings a little bit more color and fun into your home this holiday season!
Looking for more fun and affordable Christmas craftiness? We’ve got you covered!
Pin this post for later! And if you make one, leave a comment (or better yet, a photo) on the pin! That helps others know whether they want to try this project, too!

Before you leave…it’s hard to enjoy the holiday season when we look around and all we see is clutter. Take control of the clutter, so you can truly relax this Christmas – our free Christmas decluttering guide will help! I’ve reserved a free copy for you. Grab it here! ⤵


Leave a Reply