Today’s we’re sharing a DIY front door mat tutorial…
Come and knock on our door, our doormat’s waiting for you…welcome to our nest!
And this doormat is such a fun DIY project. It takes less than an hour to complete, plus a little extra for the fun paint job. Want to make one too? Great! We’ll show you how!

This is one of the projects taught through Home Depot’s DIY workshop series. These classes are offered at every store across the country. Plus, they are open to people of ALL skill levels. No professional license to operate power tools required 🙂

DIY front door mat video overview
Speaking of the little nestlings, they were a big help with this project. Everyone got in on the action, from painting to measuring, to tying the knots, the kids loved this DIY. If you want to give it a try, you’ll need:

DIY Wooden Front Door Mat Supplies
- 1 spool of 1/4″ x 50′ natural sisal rope
- (8) 36″ 2″x2″ square balusters (we used the pressure treated type because we knew this would be used outdoors)
- porch paint
- circular saw
- 3/8″ drill bit
- drill
- measuring tape
- pencil
- painters tape
- scissors or utility knife

We decided to paint our front door mat to match the look of our deck…another DIY project that we did here last summer. That was a big project. If you didn’t know us back then, this is how the deck looked before the makeover…

Large, and dated, with wood rot and enough railings to fence in a small village. We called it Alcatraz-chic. But after the jailbreak, it looked like this…

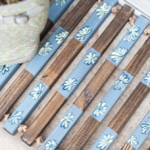
We made our own custom outdoor rugs. With a stencil, and a bright, nautical blue porch paint.

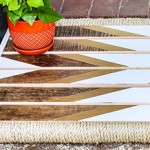
Our DIY front door mat is painted in a matchy-matchy palette.

The materials for this DIY front door mat came to about $13. And the quality of this thing is STELLAR. You can’t buy a front door mat for $13 that will come anywhere close to matching this one in sturdiness or quality.

Not feeling the DIY itch? Here are some similar wood doormats you can buy!
How to assemble your wooden front door mat
Let’s dive into the step-by-step instructions for your doormat.
1. Use a circular saw to cut 8 balusters to 18″ length.

2. Paint balusters if desired.
3. Mark and drill holes
in both ends of all 8 balusters for the rope. Mark at 1″ in from each end. Use the 3/8″ drill bit.

4. Cut 2 lengths of sisal rope, 80″.

5. Tape one end of each piece of sisal.
This makes threading through balusters easier.

6. Thread holes and tie knots.
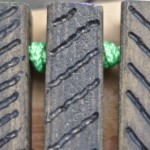
Knot one end of each piece of sisal, and thread through balusters. Between each baluster, tie a knot in the sisal, making sure to keep it tight to the adjacent baluster.
Once all balusters are threaded, tie a final knot at the end, and cut the excess rope with scissors or utility knife.

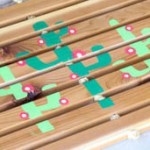
We traced the outlines for his and his and hers “Three’s Company” feet onto the assembled doormat. Then painted them in the same blue as our outdoor “rugs”.

And any time you happen to be in our neck of the woods, stop by! As they say in Three’s Company…

Come and dance on our doormat, take a step that is new…
We’ve a lovable space that needs your face, three’s company too.
Pin this post for later! And if you make one, leave a comment (or better yet, a photo) on the pin! That helps others know whether they want to try this project, too!

Pssst…before you go, I sure would love to hang out with you again really soon! Sign up now and get a FREE copy of “Builder-Grade To Beautiful: 10 Totally Transformative Home Decorating Solutions, All Under $100!” Click here to enter your email or on the image below. Your copy will be sent right away!









Emily says
I love how your doormat turned out – the outlines of the shoes are such a cute detail. And your deck makeover is amazing! Thanks for linking up with Merry Monday!
Morgan @ Morgan Manages Mommyhood says
This is so cute! I love that you can keep it outside without worrying about ick collecting in it!
JenWoodhouse.com says
Your mat is so cute! Love the video too!