


Mulch Dye (AKA Mulch Paint). An Honest Review…
If you have tired, old-looking mulch in your garden beds, you may want to try giving your faded mulch a refresh by spraying it with mulch dye. A coat of mulch paint spray could be all you need to achieve beautiful-looking gardens while saving yourself hours of work and pain.
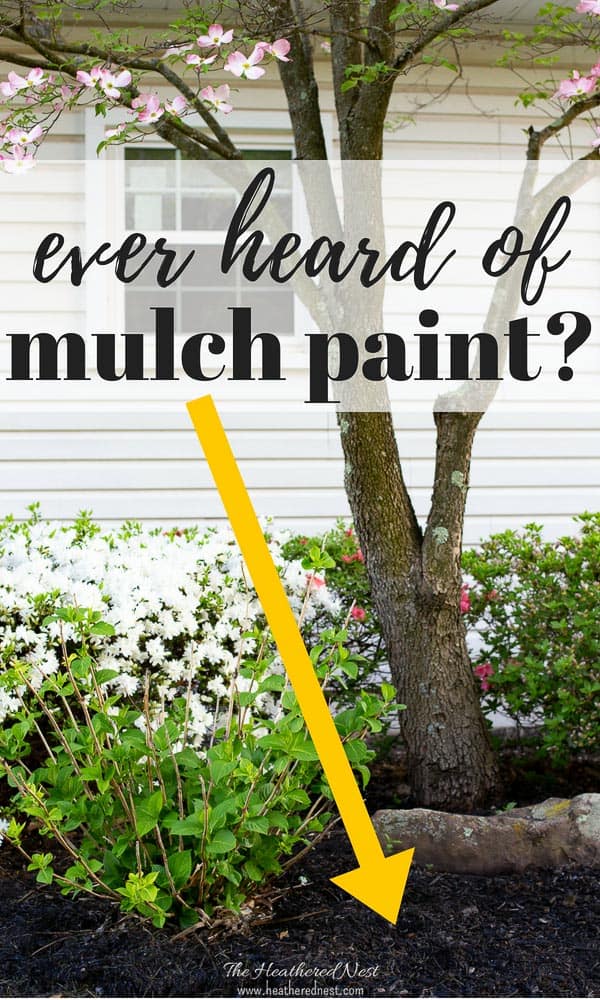
Ever heard of mulch dye? Or mulch paint? Well, I sure hadn’t.
*Rust-Oleum sent me free product to review for this content. As always, all thoughts, opinions, bad jokes, and 80’s song references are mine all mine.
Know what I have heard of? Back pain.
And that’s exactly what many of us feel each spring when we transport, dump, wheelbarrow, dump again then spread hundreds and hundreds of pounds of mulch. It’s cumbersome, it’s dirty, it’s expensive and it’s back-breaking labor.
So if there’s an easy button I can push…you better believe I’m going to find it and push that sucker.

I don’t recall how it was that I stumbled across this product by Rust-Oleum named “Renovator Mulch Color Refresh” but when I saw it, I knew that I wanted to try it.
I reached out to Rustoleum and told them I wanted to check it out so I could share my experience with you…and if it worked, we could hit that easy button together.
What is Mulch Spray Paint?
Mulch paint is a concentrated dye that is mixed with water so that you can spray it on your existing mulch to renew the color and make it look fresh and amazing.
It gives you the same look as new mulch without all the back-breaking work of buying, hauling, and spreading new mulch.
Isn’t that genius? Now can you see why I couldn’t wait to try it?

Supplies Needed for DIY Mulch Dye Project
- Mulch Dye (this is the variety/color we used)
- Pump Sprayer
- Gardening Gloves
- Leaf Blower and/or Rake (if you’re wanting to really perfect the application)

How to Apply Mulch Dye
This process really couldn’t be easier. I think it might surprise you to see just how simple it is.
1. Fill pump sprayer.

2. Prep mulch beds.
For the best results, take a few minutes to weed and clear debris (like leaves and twigs…and kids’ toys and dog bones) out of your mulch beds with a blower and/or rake.
It’s also a good idea to agitate the existing mulch a bit. Level out the existing mulch, cover any completely bare patches, and knockdown any high spots so that the mulch beds appear to have an even covering of mulch.
The Rustoleum Renovator mulch dye packaging also recommends covering any plants, sidewalks, and anything else you don’t want to be dyed.
Pssst…remember! Don’t leave here empty handed! Grab a copy of “10 Totally Transformational Home Decorating Solutions – All Under $100” now. Click here or on the image below to grab yours now⤵️
Truth be told, as I was trying to be as lazy as possible for this little DIY project, I didn’t do much of any prep. I did weed, but I didn’t rake.
I also didn’t cover any surrounding plants, sidewalks or anything else. It just sounded like too much work at that point. And I was hungry…soooo I just left all the sticks, twigs, and leaves in the mulch beds.
I told myself I’d be as careful as possible not to spray anything that I didn’t want to turn black. What can I say? I like to live on the wild (and lazy) side.
I know, not ideal…eh, whatever.
3. Spray on Mulch Dye!
With the prep work done and out of the way (or avoided completely), it’s time to spray on the mulch dye. This is the fun, rewarding, and insanely easy part.
Seriously, your kids are going to want to actually do this “job” because it’s so fun. Don’t let them – it’s ok to enjoy some fun yourself.

In just minutes, my mulch beds looked completely rejuvenated!
It was so easy to control the spray with my pump sprayer that I personally didn’t find it difficult to avoid over-spraying despite my lack of “proper” prep work.
That being said, if you look closely at a couple of the hostas in the shot above, you’ll see that I DID spray a couple of them just a tiny bit. If that’s something that would bother you, then I recommend doing a better prep job than I did.
Mulch Dye: The Before and After Difference
Here is another bed BEFORE applying the mulch dye…

And here’s how it looked after spending about 3 minutes applying the mulch dye with my pump sprayer:

Is Mulch Dye toxic?
One question many of you may have about this product is, “But is this safe for people? Plants? Wildlife? Pets?” I had that question as well. Here’s what the Rust-Oleum label says…this is a screenshot:

The label states that the product is “Safe for pets, plants, and wildlife.”
Now, how safe?? What EXACTLY is in it? Those are very valid questions, for sure. If you are concerned, I’d recommend reaching out to Rust-Oleum with any follow-up questions. There is not a detailed ingredient label on the packaging that I could find, so I cannot share more info on that front.
My Honest Opinion About Using Mulch Paint
This Rust-Oleum mulch dye product is LEGIT, and I’m now a huge fan!
Not only did I save myself HOURS of blood, sweat, and mulch turmoil, but I actually enjoyed the process and was thrilled with the final result.
Forget buying and hauling mulch all over the yard because I’m doing this from now on (until the mulch disappears and I HAVE to buy more mulch – but I’ll be putting that off as long as I can)
And that’s not all (can you just hear the TV announcer’s voice?)! One-gallon jug of Rust-Oleum’s mulch dye will run you about $25-30 and covers about 350 sq ft per the label on the product.
But to me, the REAL savings came in the currency of time and energy. Trust me – it was totally worth it.

Overall, Rust-Oleum’s mulch paint product is DEFINITELY a winner, in my book.
Use Rust-Oleum’s Renovator Mulch Color Refresh Mulch Dye if:
- Your mulch beds have enough mulch in them already but the color has faded and it looks old and worn out
- You’re not as young as you once were and hauling bag after bag or wheelbarrow after wheelbarrow of mulch is either physically impossible or too difficult.
- You’re preparing to sell your home and need a quick and easy curb appeal boost.
Note: Taking the time to properly prep the area (i.e. do everything that I did NOT do…rake, etc) will yield an end result that would look EVEN BETTER than my results.
If you are looking for a pain-free alternative to refreshing the mulch in your garden beds, I highly recommend spraying mulch dye on your existing mulch. Using mulch paint gives you the same visual effect with a fraction of the work and cost as spreading new mulch.
On the hunt for more home hacks, DIY projects, and budget-friendly decorating ideas at home? Be sure to check these out, too!
Pin this post for later! And if you’ve tried this product and DIY project out, leave a photo and/or comment on the pin so that others on Pinterest can see your results, too!

Pssst…before you go, I sure would love to hang out with you again really soon! Sign up now and get a no-cost copy of “Builder-Grade To Beautiful: 10 Totally Transformative Home Decorating Solutions, All Under $100!” Click here to enter your email or on the image below. Your copy will be emailed right away!


Nina says
I was just wondering how does it hold up when wet …does it run or fade?🧐🤣
Heather says
Great questions!! And you know, I haven’t noticed EITHER happening. And it’s been very, very wet here on the east coast this summer. I will try to remember to check again though next time I’m weeding 🌱
Ray says
I have recycled rubber mulch made from old tires. Will this product work on it also?
Heather says
hmmmmm…I looked on the container, and it doesn’t specify the type of mulch it works on. It simply says “use on faded mulch”. Reach out to Rust-Oleum on one of their social media accounts and ask! They’re really responsive 🙂
Ivory says
Fabulous, wonderful, outstanding, and just what I need to cutdown on labor/time. Thanks for sharing. Noooow, where do I find this great stuff?