The deck prep/deck maintenance is done. And this week, we worked like MANIACS to get this stain job done. I’m so serious…
Pin
PSA (Public Service Announcement)…if you don’t want to be driven into mania as well, click the play button above again so that disaster brilliant artistic masterpiece will not continue to REPEAT OVER AND OVER again as you scroll down….you’re welcome.
Second PSA…we were fortunate enough to collaborate with several sponsors on this post, including HomeRight, Cabot and UltimatePatio.com who have supplied product and/or compensation in exchange for this content, but as always, all opinions, cheesy song references and the lot are all mine. This post contains affiliate links. Please read my full disclosure policy here.
And before we get too knee deep in staining this deck, here are all the sources referenced in this post:
Deck staining supplies needed and sources for this outdoor space:
If you’ve been following the makeover of our outdoor living space, then you may recall where we started. A massive amount of fire engine red wooden deck, ala 1988.
But you see, we’re not THOSE kind of people. Safety conscious, lovers of the color red, prison-chic-fan-club-members…NONE of those things.
Pin
WE’RE MANIACS, baby! So we went full throttle on this wood deck makeover like Jennifer Beals in Flashdance…
Pin
And there was a lot to do, because this deck was GROSS, and starting to rot. Because of its’ condition, there was a decent amount of prep work and deck maintenance involved with this project. We talked about that in an earlier post, if you’re interested in the nitty-gritty.
But that is all behind us now, and it’s GO time. We checked the weather forecast, and since everything looked sunny for a couple of days straight, we used the leaf blower to get any leaves, etc off the already prepped deck.
Pin
Then, we used painters’ plastic to cover anything that could be in the line of the paint spray fire. That part took a bit of time…
Pin
This was me, working into the night to get everything taped off for the sprayer. When you have little kids running around, sometimes after bedtime is the only time you have.
Pin
After a lot of research, and looking at online reviews, etc, we reached out to Cabot to collaborate on this project. Their customer service is phenomenal.
There are a lot of products out there for exterior projects, and they helped us decide on the best product for our deck, which was their solid acrylic deck stain.
Pin
When you’re staining a deck using Cabot products, you have access to their customer service via phone…and you’ll get a real, live person on the other end who knows a lot about deck stain.
I’m telling you, they were VERY helpful throughout this process. Try calling them if you’re considering staining a deck yourself…1-800-US-STAIN.
Pin
Ahhh, opening that first can of Seacoast Gray stain was like a serious breath of fresh air.
Pin
The team at Cabot even helped direct us to the best sprayer for our particular project, which was this HomeRight Titanium Series Heavy Duty Airless Sprayer. Pure awesome. This thing saved us HOURS of our lives.
Pin
The paint sprayer worked so well. We did a wooden deck staining project a couple of years back with just a roller, and I’m telling you, this sprayer cut the time commitment for this project by probably 50-70%. It was unreal.
Pin
I had some volunteers to help me with the back-brushing, which Cabot recommended we do. Sometimes, we’d use a brush, or we had a roller that I put on an extension pole so that no one needed to bend down to do that piece.
Pin
Coverage was something I was very concerned about since the red color on this deck was so prominent. I was really worried that a stain wouldn’t cover all the red.
Especially since we wanted to go lighter in color…the Seacoast Gray on the deck boards, and white for the wood trim.
Pin
But it did the job wonderfully. The image above is after spraying ONE coat of white. I honestly didn’t really even need to do the second coat.
Pin
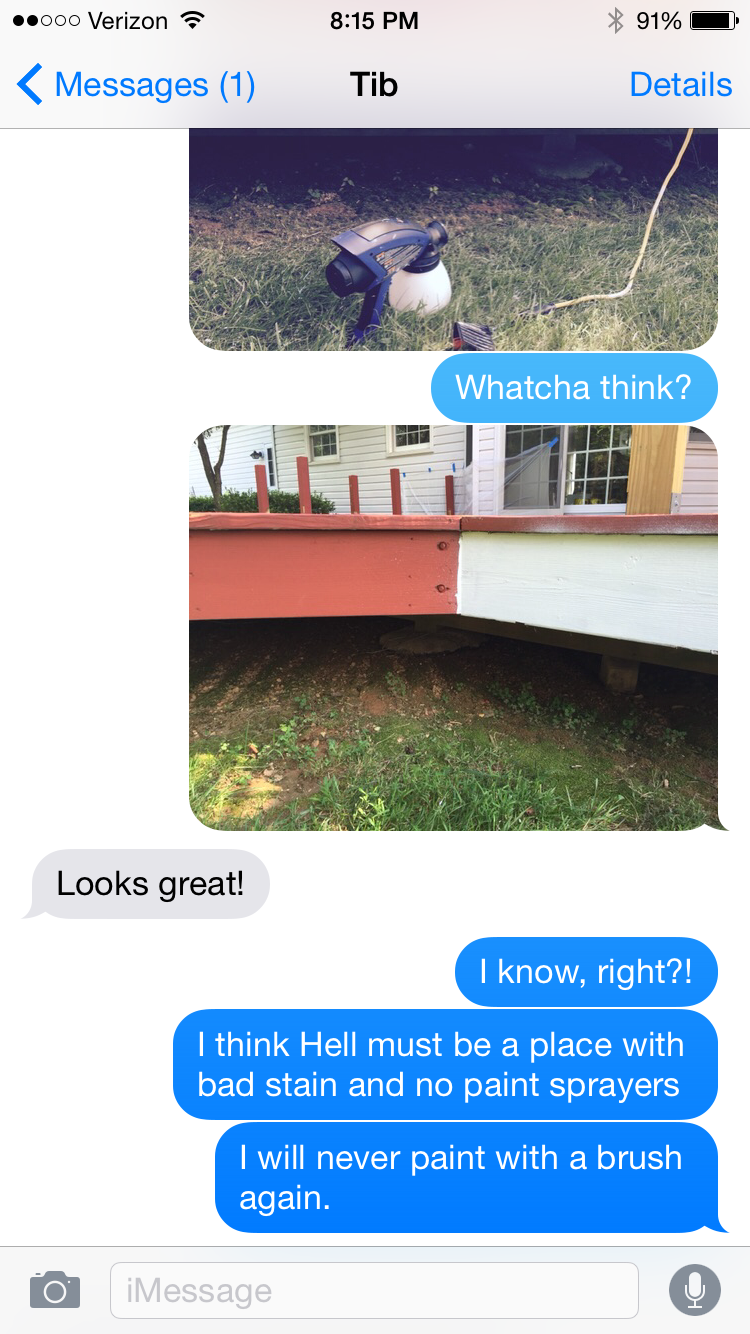
Husband texted me in the middle of the project to see how it was going…here’s our convo:
Seriously guys, if you have a project this big, do yourself a favor, and spring for the sprayer. You won’t be sorry. And cheap stain ain’t cheap if you gotta turn around and repeat the whole painful process next year. For real.
And here it is, after it’s facelift. This wooden deck now puts a smile on my face. Next comes the really fun part…dressing Cinderella up for the ball.
Pin
That starts with a fun new purchase…and it just got delivered today.
Pin
Stay tuned for more soon…we’ll have pergolas and fun patio furniture, complete with a campfire and smores and the whole nine. And…
Pin
Check out these SUPER cute pillows that just arrived from one of my FAVE Etsy shops, Finch & Cotter!
Pssst…before you go, I sure would love to hang out with you again really soon! Sign up now and get a no-cost copy of “Builder-Grade To Beautiful: 10 Totally Transformative Home Decorating Solutions, All Under $100!” Click here to enter your email or on the image below. Your copy will be emailed right away!
About Heather Thibodeau
A former doctor of physical therapy, Heather Thibodeau went from rehabilitating people to homes as the primary creative force behind the DIY and home decorating website, The Heathered Nest.
With her work being published both in print and online in places such as Better Homes & Gardens, House Beautiful, Good Housekeeping, Real Simple and more, Heather's goal is to help people create a home they love, one DIY project at a time.
Heather spends her spare time writing about family travel to US national parks at her other website, National Parks Mom. Check it out!
Haha, awesome video! I was watching you paint on periscope and had wondered how it turned out! It’s beautiful, excellent job. We’ve used Cabot before with great success, I’m LOVING the colour you picked… we’re doing our deck and porch next year, I’ll have to pin this to remember that colour, it’s perfect! 🙂


Laurie @ Vin'yet Etc. says
Haha, awesome video! I was watching you paint on periscope and had wondered how it turned out! It’s beautiful, excellent job. We’ve used Cabot before with great success, I’m LOVING the colour you picked… we’re doing our deck and porch next year, I’ll have to pin this to remember that colour, it’s perfect! 🙂
RandiG at FrugElegance says
Looks awesome. Cant wait to see it when its all complete.