


How to assemble an easy DIY book cover…
Here’s the deal. This DIY book cover project is easier than sin. And from what I hear, sin is pretty easy. In all fairness, a typical DIY book cover is NOT a hard project, right?
You probably learned to cover a book in junior high or high school…you’d whip out your paper grocery bag, and a couple minutes later, it was done.
So why mess with this gold standard of DIY book cover techniques? Three reasons:

#1: I’m extraordinarily cheap.
I didn’t want to waste material. Not paper bags in this case, but rather scrapbook paper.
As you can see below, I wrapped enough books to fill this non-functioning fireplace in our living room. If I would have done a DIY book cover in the traditional way, I would have blown threw a slew of scrapbook paper.
It’s not insanely expensive, but it was money that I didn’t feel the need to spend.

#2: I embrace my inner sloth.
How long does it take to complete a traditional DIY book cover? It takes me a good 3-4 minutes to wrap a book the legit way.
THIS way? The CHEATER and CHEAPSKATE way? Takes 30 seconds. And that definitely appeals to my couch potato tendencies.

#3: Pop, not protection.
In high school, we wrapped our books to protect them. Mostly from ourselves, and because the textbooks didn’t belong to us. But the purpose of our little project here was not protection, but instead to add a POP of color.
All that said, if you’re interested in doing a DIY book cover project that is similar to our stacks of green books in the fireplace, read on and we’ll show you how it’s done.

Here’s a quick video tutorial on this book cover technique…

Video Tutorial: Creating faux DIY book covers
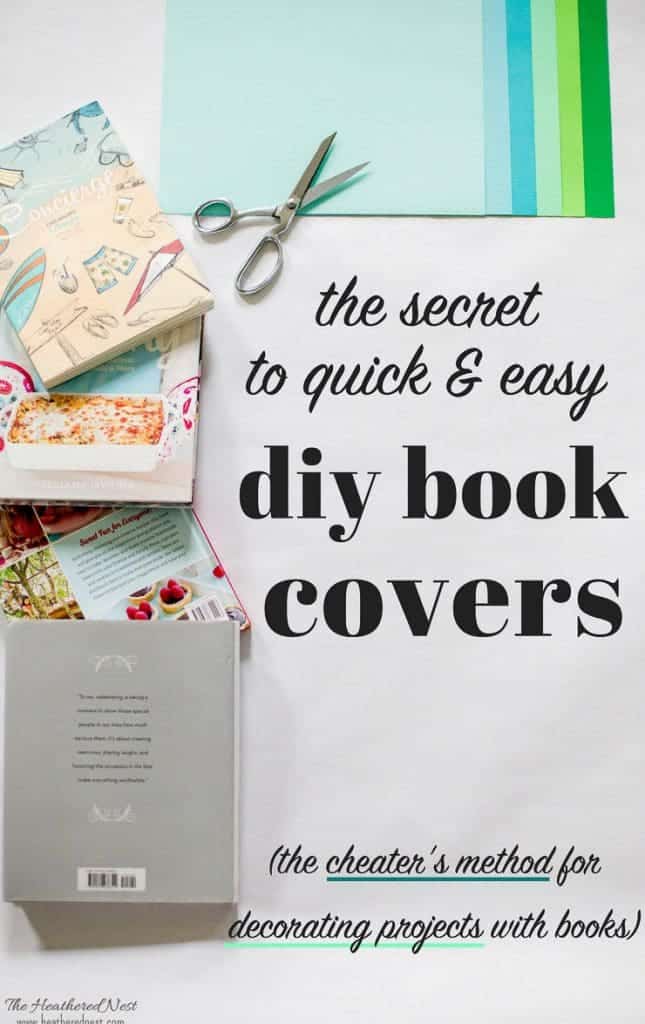
Here’s what you’ll need for your own cheater’s-style book covers…

Supplies needed for DIY book covers
- books (obviously) all shapes and sizes
- tape
- scissors or paper trimmer
- 12″x12″ (or larger) scrapbook paper – we used THIS package of greens & THIS package of aqua blues
How to assemble your DIY book cover
The short video above shows you how I made them, but here are the steps…

1. Cut a piece of scrapbook paper to the height of the book.
2. Cut that same paper to be long enough to cover a few inches of the cover, the spine, and a few inches of the back cover.
3. Adhere paper to book with a small piece of tape on the front cover and back cover.
You’re done. So easy it should be a crime. And maybe it is to a librarian. I know taping a cover is probably punishable by…I don’t know…ripping up your library card?

Anyhow, DON’T do this with library books (duh). I’d suggest using this method on your old textbooks. I mean, you’re only holding onto those because you feel guilty deep-sixing them.
So this will allow those books with all that knowledge you’ve long forgot to be useful again. At least, this is what I told myself.

On the hunt for more simple home improvement ideas, and DIY home decorating inspiration? Be sure to check out these articles, too!
Pssst…before you go, I sure would love to hang out with you again really soon! Sign up now and get a no-cost copy of “Builder-Grade To Beautiful: 10 Totally Transformative Home Decorating Solutions, All Under $100!” Click here to enter your email or on the image below. Your copy will be emailed right away!


Leave a Reply