How to make tiny, adorable pom poms quickly and easily with a fork…
For a crafter, learning to make DIY pom poms is as basic a skill as learning to use an x-box controller for a 10-year old. You can pick up this crafty skill almost immediately, and churn these suckers out about one every minute or so.

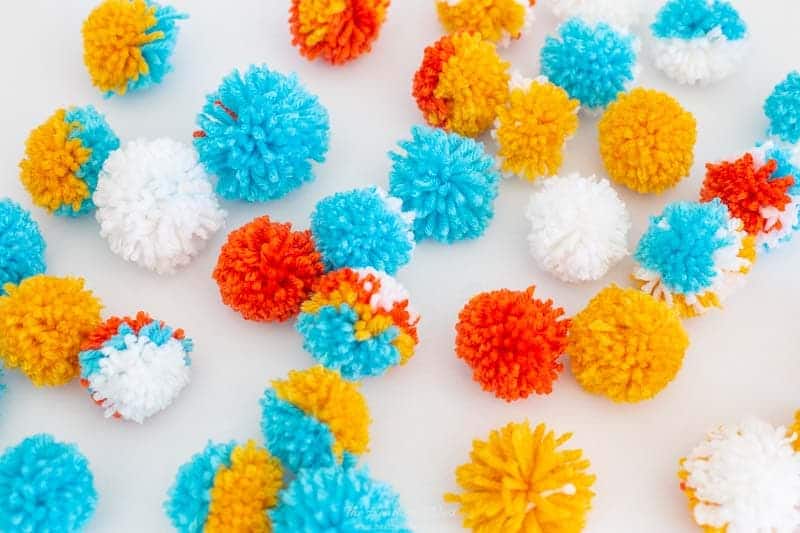
Pom poms are a great way to add color and texture almost anywhere. And I’ve tried them just about everywhere.
But learning the best method for making pom poms is a bit tricky, because they can be made LOTS of different ways. In fact, we review each of the 4 most popular pom pom making techniques in this post.
But today, you’ll learn how to make pom poms with a fork!
This 2-minute video will show you the process!

Video Tutorial: How to make pom poms with a fork
[adthrive-in-post-video-player video-id=”AYnAFrhy” upload-date=”2018-10-19T00:00:00.000Z” name=”How to Make Pom Poms with a Fork!” description=”how to make small, cute pom poms using a fork in minutes!”
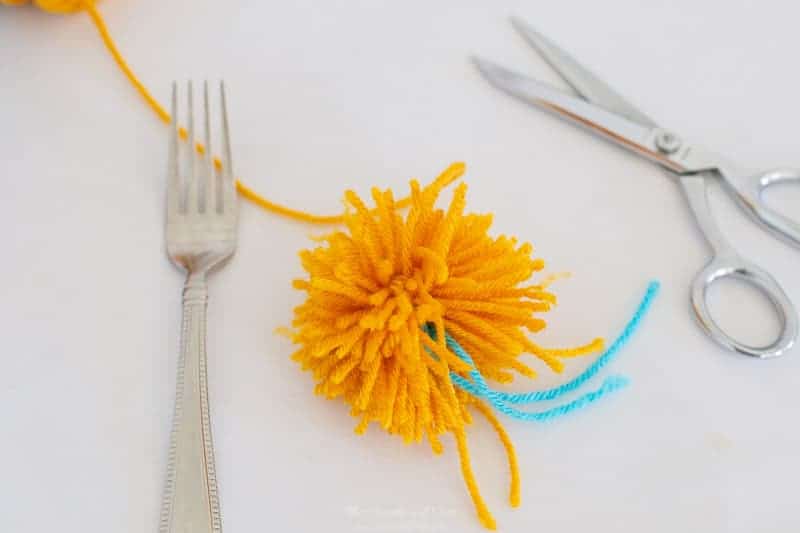
The great thing about this method is that you need next to nothing for it. Just yarn, scissors, and a fork…

Supplies needed for pom pom making
- fork
- yarn, any color that makes you smile (this pack has a great color assortment for a great price)
- SHARP scissors (I love this brand*)
*my grandmother bought me my first pair of real fabric/sewing scissors. she swore by this kind, and I have as well, ever since
How to make pom poms with a fork
Again, the video tutorial above will show you all you need to know in 2-minutes, but if you’re a reader, not a watcher, we’ve got you covered here.

When you search “how to make pom poms with a fork” online, you’ll find a lot of articles and videos, but most will show you the same exact technique.
That popular method will yield mini-pom poms that are about 1.5″ – 2″ if you’re using a standard dinner fork.

The method I show you in the DIY tutorial video for how to make pom poms with a fork will make pom poms that are twice the size (and a bit easier, too). You can check out the size difference in the pom poms made in the photo above.
I’ll show you my method (which makes the BIGGER pom poms) first.
1. Lay several inches of yarn on top of your fork.

Cut a length of yarn…say 5″ – 8″ or so. I’m using a contrasting color just so it stands out for you in the photos, but you can use the same color as the rest of your pom pom will be. We will be wrapping the rest of our yarn around both the fork, and this piece of yarn.
2. Wrap yarn around fork.
Not much else to say about this step. Just start wrapping.

You’ll want the yarn thickly layered around the fork. At least 30-50 loops round your fork, I’d estimate.
3. Once yarn is thick enough, snip end.
The picture below should give you an idea of how thickly your yarn should be wrapped round the fork.

4. Tie a knot.
Now you’ll want to grab the ends of that piece of yarn (blue in the photo) that we laid atop our fork in the beginning.
Tie a knot as tightly as you can around the layers of yarn. This will cinch the middle of the wrapped yarn and give you something that looks a bit like a bowtie pasta noodle!
It may be easier if you slide the yarn off the fork first, THEN cinch your knot closed (see shot below).

5. Cut yarn loops.
Grab those sharp scissors, and snip the loops.
You’ll end up with a shaggy looking pom pom at first.
6. Trim pom pom.
All that’s left to do is shape up your pom pom by trimming it so that the yarn is roughly the same length all around the pom.
That’s it!! But before I end this how to make pom poms with a fork fun…let me show you how MOST of the tutorials show you how to do this project.

How to make mini pom poms with a fork
The process is virtually the same as what is described above, with one major exception…

Do not add the vertical piece of yarn in the beginning. Instead, wrap your yarn around the fork first. Then,

once wound, take a piece of yarn (pink in image above) and weave it through fork prongs at the base. Then wrap it up over the top of the (yellow) yarn loops on the fork. Now tie your knot.

Slip the knotted yarn off the fork. Now you’ll snip the loops on both ends of your little yarn packet.

Above is how it will look after snipping one side of the pom pom.

After snipping the other side of yarn loops, shape the pom pom as we did for the larger version. The mini pom poms will be about 1″ – 1.5″ around, if you use a standard dinner fork.
That’s it! Now go tackle some fun pom pom crafts with your little bundles of colorful fun! Happy crafting!
Looking for more pom pom crafting fun? Here are some ideas:
Pin this pom pom making tutorial for later:
Pssst…before you go, I sure would love to hang out with you again really soon! Sign up now and get a FREE copy of “Builder-Grade To Beautiful: 10 Totally Transformative Home Decorating Solutions, All Under $100!” Click here to enter your email or on the image below. Your copy will be sent right away!


Leave a Reply