


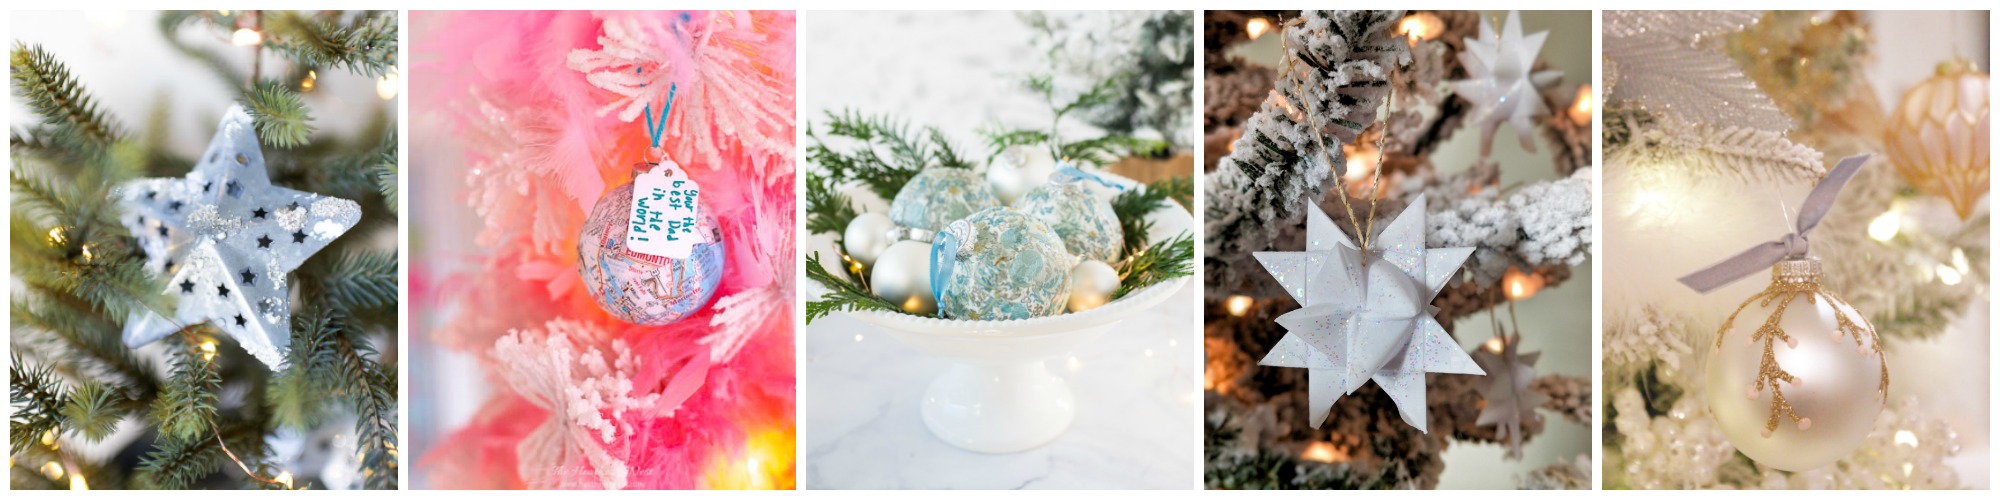
Easy map homemade Christmas ornaments…
Homemade Christmas ornaments are such a great gift to give and receive. Don’t you agree?
The trouble is that there are SO many items on the to-do list each holiday season that it’s hard to find the time to get all our presents bought, let alone making some.
These map homemade Christmas ornaments take about 30 minutes total (spread over a day or more…whenever you can fit it in) to make.

It’s wonderful helping the kids make homemade Christmas ornaments for friends and family. It shows them that people we love are worth the effort, you know?
My daughter made this one to give Dave this Christmas, complete with a little tag that reads “You’re the best Dad in the world.”

Here’s a video that will show you the basic process…

Map Homeade Christmas Ornaments Video Tutorial
And here is a list of the supplies you’ll need to create your own map ornaments…

Supplies Needed for Map Homemade Christmas Ornaments
- basic ball ornament, glass or shatterproof
- shape punch (mine was square, but other shapes would work as well)
- Mod Podge (you can choose a matte or glossy finish…I used matte)
- foam craft brush
- map(s) – (they are free at AAA for members)
- heart sticker
- white gift tag/price tag
- colorful ribbon, yarn or raffia for hanging
Now let’s dive into the step-by-step instructions…

Directions for Map Homemade Christmas Ornaments
1. Cut shaped sections of map with a punch.
Because we are affixing flat paper to a round ornament, cutting the map into little pieces will help us get a smooth finish on the ornament.
If you tried to just Mod Podge a big section of map straight onto your ornament, I think you’ll find you end up with a very wrinkly-looking ornament. I’ll credit this punch idea to another blogger who made these map ornaments as well.
I had been thinking about this project and trying to figure out how to get around the wrinkles that would happen if I just slapped a map on a round ornament. Luckily, Courtney had already solved this problem!
I used a square-shaped punch (about 1″), but you could use other shapes, for sure.

Simply punch sections of map until you’ve accumulated about 30-50. The exact number really depends on the size of the ornament you are covering.
If you want to label a certain part of the map (maybe your hometown, college town, etc), then make sure you punch that area and put it aside. You’ll want that to be one of the last sections glued to the ornament.
2. Mod Podge.
Using your craft brush, generously apply Mod Podge to a small section of your ornament, then adhere one section of your map.
Promptly cover that section completely with Modge Podge so that the map is sandwiched between two layers of glue.
Be GENEROUS with the glue. It dries clear.

Continue this process of adhering sections of map all over your ornament. It’s messy…which is one reason kids will LOVE making these homemade Christmas ornaments!

At some point, the ornament will be so covered with glue that you’ll want to pull off the cap. Then grab something like a chopstick to “hang” your ornament on.
I placed a chopstick in a little narrow-necked bud vase and stuck the ornament on top of the chopstick. A similar setup will allow you to be a little more hands-free, and will cut down on the mess!
Your “special” map section with your hometown, college town, etc. will be the LAST map section you add to the ornament.
Once all the gaps have been filled in with sections of the map, place the map section with your hometown it in a prominent position, and glue it on.
3. Let dry. Then, MORE Mod Podge!
Once your ornament is completely covered with map pieces, allow it to dry. We kept ours sitting on the chopstick in the bud vase.
Once dry, slather another layer of Mod Podge over the ornament.
Again allow the glue to dry.
The more layers of glue you add, the smoother your finished ornament will be.
4. Add a location heart, if desired.
Once you have a few layers of Modge Podge complete, go ahead and place your heart sticker on the desired location on your ornament.
Stick it on, then cover with another layer of Modge Podge.

5. Add final Mod Podge layers, and hanger.
I don’t think there’s such thing as using too much Mod Podge for these homemade Christmas ornaments.
Extra layers simply make the ornament finish smoother.

Once dry, re-insert the metal top with prongs into the ornament.
We added a little white marker tag onto the ornament that reads, “You’re the Best Dad in the World.”
Colorful yarn, ribbon or natural raffia, or baker’s twine would all be great choices to use for tree hanging.

Hope that you enjoy making these homemade Christmas ornaments, and hope that whoever receives them appreciates them.

And if you like map projects, you should check out these map coasters that I love to give as gifts, as well!

And check out some more of our Mod Podge projects and other holiday crafts!
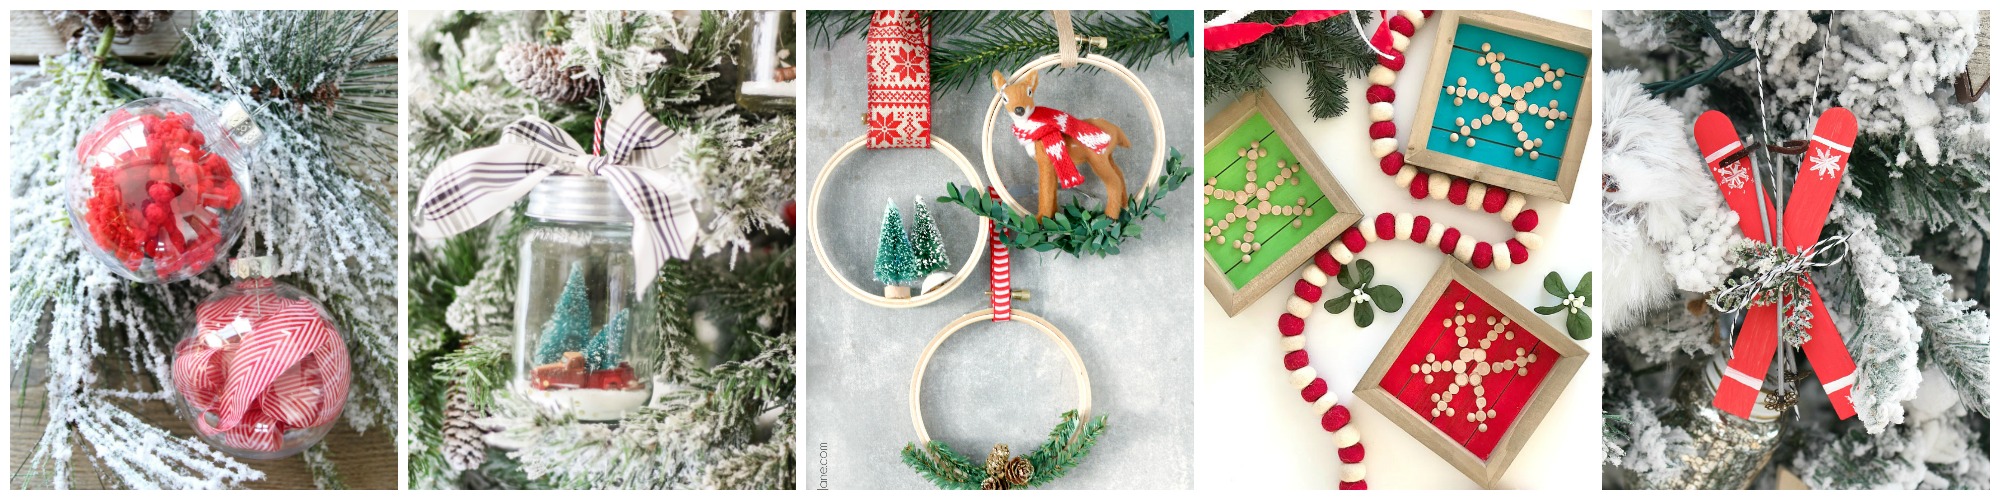
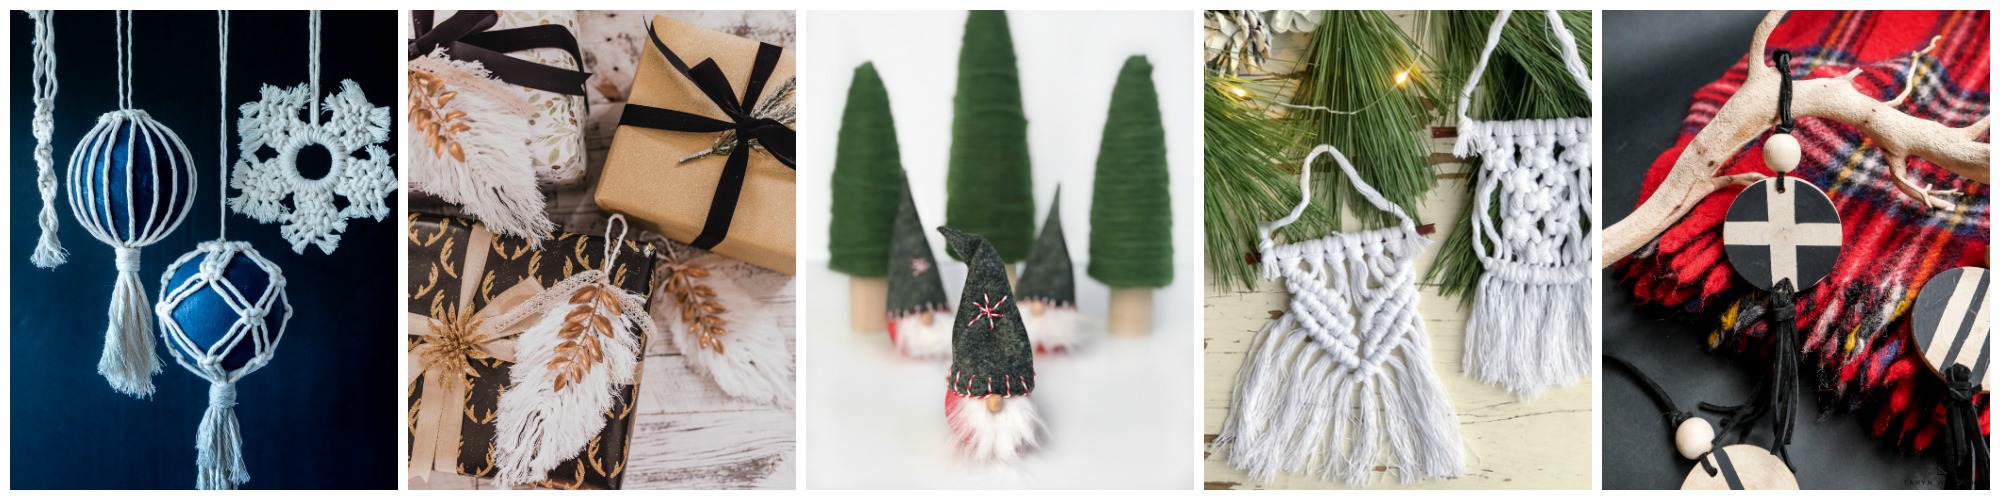
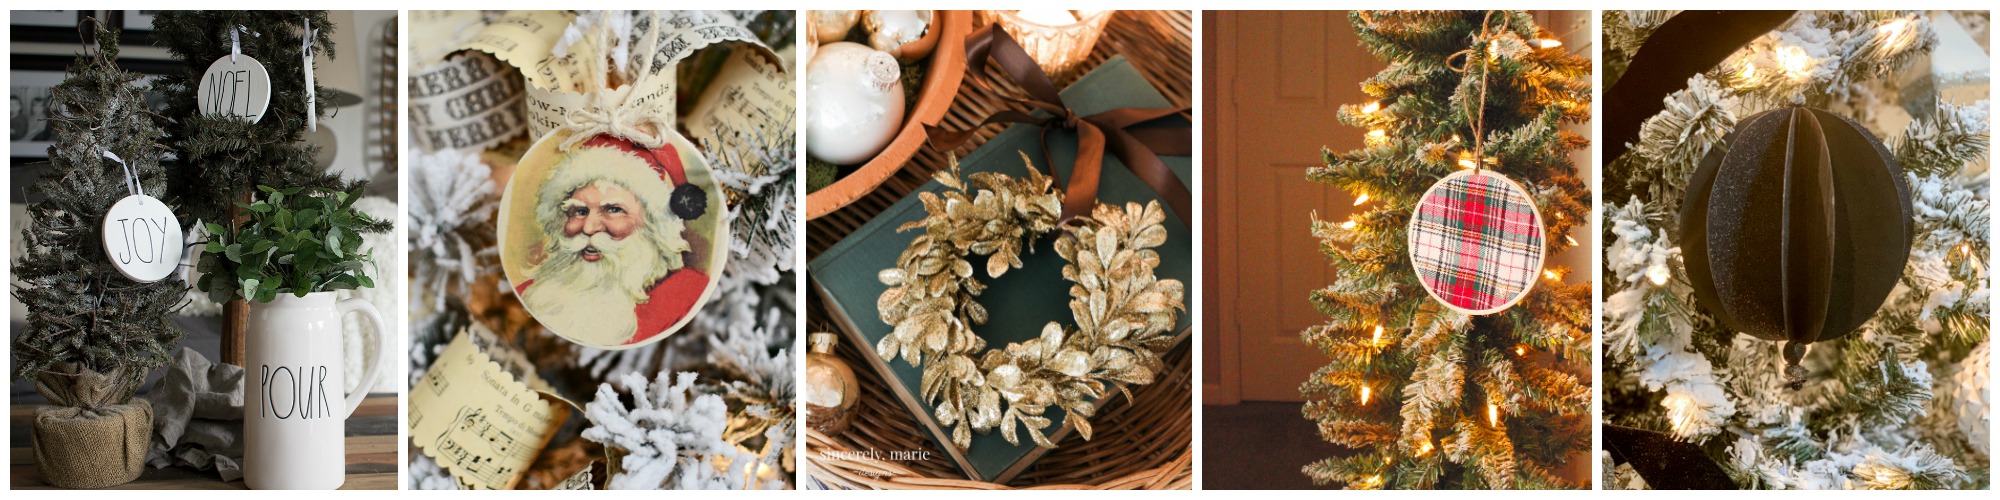
BUT WAIT, there’s more! 😂I’m not only sharing my own homemade Christmas ornament craft today, I’ve joined forces with an AMAZINGLY talented group of blogging friends to share 19 more amazing DIY Christmas ornaments with you!!

Click on the ornament images or blog names below each and check out these gorgeous ornament ideas.
The Happy Housie // The Turquoise Home // Lolly Jane // tatertots and jello // Clean and Scentsible
Place of My Taste // The DIY Mommy // Tauni Everett // Life is a Party // Taryn Whiteaker
Home Made Lovely // Town and Country Living // Sincerely, Marie Designs // Grace Gathered Home // Deeply Southern Home
Finding Silver Pennies // Heathered Nest // Jenna Kate at Home // All Things With Purpose
Summer Adams
Pin this post for later! And if you one of these homemade Christmas ornaments, leave a comment (or better yet, a photo) on the pin! That helps others know whether they want to try this project, too!

Or pin ALL the homemade Christmas ornament ideas!

Pssst…before you go, I sure would love to hang out with you again really soon! Sign up now and get a no-cost copy of “Builder-Grade To Beautiful: 10 Totally Transformative Home Decorating Solutions, All Under $100!” Click here to enter your email or on the image below. Your copy will be emailed right away!


Danielle says
So sweet!
Krista says
Thank you for sharing these in the blog hop. I don’t know which idea I like more. Guess I will have to make them all!