

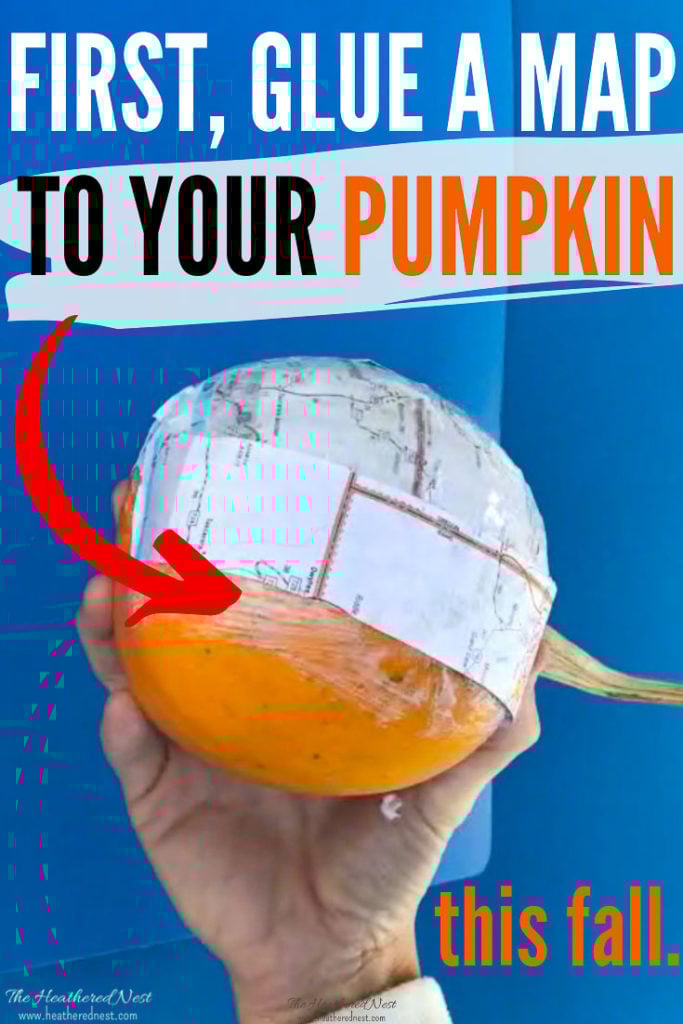
Easy Mod Podge & Maps Pumpkin DIY for the Fall…
I’m having lots of fun making easy pumpkin projects this fall.

Here’s a quick video that will show you how to make your own map pumpkins!

Map Pumpkin Video Tutorial
This pumpkin DIY turned out great! I only wish now that I had used a faux pumpkin instead of a real one so that I could have saved it for next year.
OH, and be sure to check out our map coasters…

and map Christmas ornaments if you’re a fan of crafting with maps!

Here’s what you’ll need to complete this fall craft…

- Mod Podge (I used satin)
- faux pumpkin (like this) of choice
- scissors
- old paintbrush (2-3″) or foam craft brush
- natural pumpkin stem (glue on to faux pumpkin to make it look more authentic)
- map(s)

Mod Podge map pumpkin DIY steps
The hardest part of this project, believe it or not, was finding maps! I couldn’t believe it when I went into multiple gas stations, and not a single map was anywhere to be found. It’s crazy for an 80’s baby like me!
BUT if you’re a AAA member, you can head to your nearest AAA store, and they have a whole wall full-o-maps that members can grab for free as part of their membership! #score

If you’ve worked w/ Mod Podge before, then you don’t really need step-by-step instructions for this project. But, if you’re a Mod Podge newbie, have no fear.
Mod Podge is basically just white glue that’s been watered down a bit. In fact, if you don’t own Mod Podge, you can use white glue, and just add a bit of water to it. Either way, it dries clear.
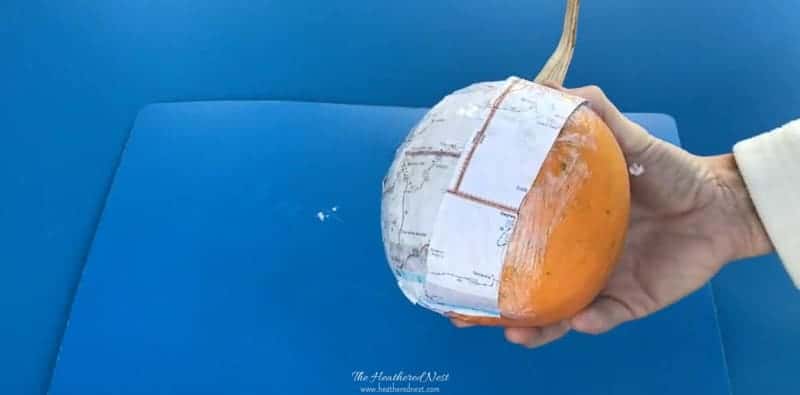
Simply cut your map into strips, about 1″ in width, and at least as long as your pumpkin is tall. Then you’ll paint some glue onto the pumpkin in sections, about 2-3″ wide, and adhere the map strips, one by one.
You want glue both under and over top of the map strips.

Use your fingertips to smooth out bubbles and wrinkles in the paper as you go. Do not be afraid to be heavy-handed with the glue. This is a messy craft (which means, if you have kids, they will LOVE doing this with you this fall)!
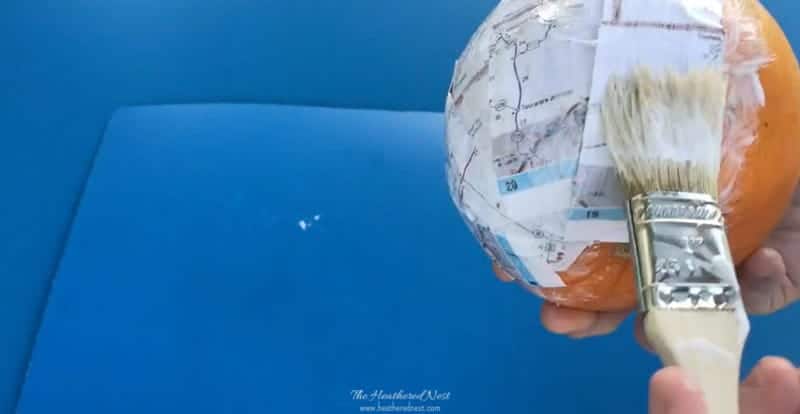
Once your pumpkin is completely covered with the map strips, give it a final once-over with a layer of Mod Podge. Allow the pumpkin to dry thoroughly. It took mine about 2 hours to not feel tacky anymore. And that’s it!!
If you’re looking for other fun and easy no-carve pumpkin ideas, well, you’re in the right place! Check out these other ideas…
Melted Crayon Pumpkins
This melted pumpkin project is fast, budget-friendly, and fun! If you have a stash of old, busted crayons at home, this is a great way to use them!

Chalkboard Pumpkins
This is one of the simplest, quickest pumpkin crafts around…and they make great name cards for a fun fall dinner with friends…

Pom Pom Pumpkins
Pom poms just make everything better…even pumpkins!

Magazine Mod Podge Pumpkin
Use a favorite magazine, or pages of an old book to create another type of Mod Podged pumpkin!

Pin this post for later! And if you make one, leave a comment (or better yet, a photo) on the pin! That helps others know whether they want to try this project, too!
Pssst…before you go, I sure would love to hang out with you again really soon! Sign up now and get a no-cost copy of “Builder-Grade To Beautiful: 10 Totally Transformative Home Decorating Solutions, All Under $100!” Click here to enter your email or on the image below. Your copy will be emailed right away!


Tammy W Ellis says
It’s called”mod podge”. Not modge.
Heather says
OMG. I’m having an “I’m turning into my mother” moment! You’re right! And I’ve been calling it that for YEARS. 😂