
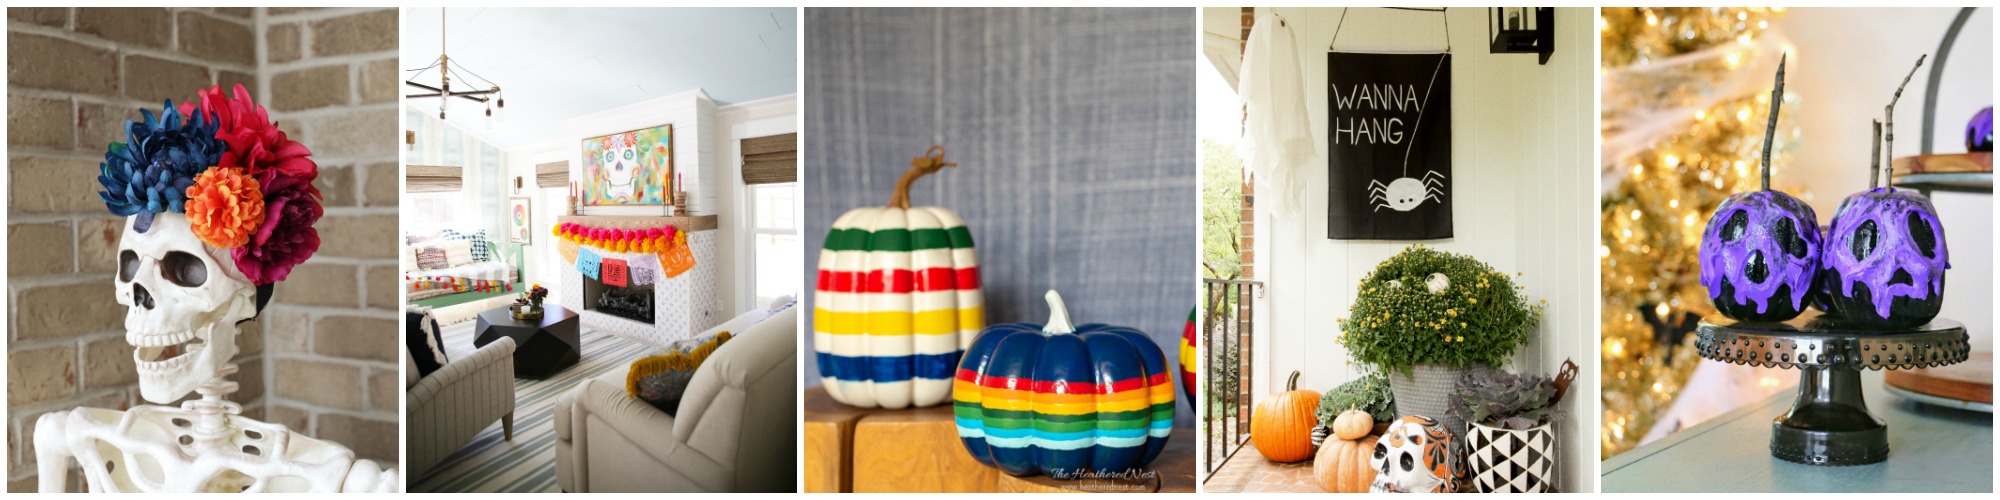
This fall, create some striped pumpkins inspired by Hudson Bay Blankets / Pendleton Blankets…
Do you decorate with faux pumpkins in the fall? Me too! Don’t get me wrong, I love real pumpkins, but they don’t even last through the full fall season.

If you’re going to spend money on fall decor, and dedicate time decorating for the season, it would be nice for that decor to last as long as possible…and preferably without enduring the scent of rotting pumpkin in the house.
Ever smelled rotting pumpkin? NOT pleasant.
If you’re on the hunt for unique twists on faux pumpkin crafts, I typically try to share them here at least once or twice each fall, like this one (simple pom pom pumpkins) ⤵️

Or any of these…
More Fun DIY Pumpkin Craft Ideas
This year, I was inspired to create some fun, colorful striped pumpkins thanks inspiration from Hudson Bay blankets and Pendleton National Park blankets we own and love.

If you’re not sure what they are, I’m almost positive you’ve seen them before.

Here are some examples of these blankets (and if you want more info or to shop for any of these blankets, simply click on the picture below:

Looking for a Pendleton Blanket or Hudson Bay Blanket?

Oh, and before I forget…if you have a family at home, the holidays are the BEST times of the year, but also the most stressful. Our to-do list is packed with holiday tasks, and everything else falls at the wayside. If clutter and disorganization are stealing the joy from your holiday fun, I can help! Grab this free list of 60 simple decluttering wins that can help you get organized and clutter-free 5-minutes at a time!

Hudson Bay Point Blanket and Pendleton Blanket History:
I actually wasn’t sure of the difference between the two brands, so I dug a bit into their history. I’ll share the cliff notes history lesson on each company based on my extremely thorough 2-minute scanning of the first page of Google results 😉.
The Canadian Hudson Bay Company began as a fur trading business in the mid-1600s.
At that time, the Europeans traded what was called a “point blanket” made in England in exchange for mainly beaver pelts. The “points” were lines sewn at the bottom of the blanket indicating its size. They were a white, woolen blanket dyed with four stripes on each end, red, yellow, green and blue.

The US-based Pendleton Woolen Mills Company was founded in the mid-1800s by a weaver who immigrated from England. Pendleton began making wool blankets in the early 1900s. The original blankets were inspired by Native American designs and patterns.
Pendleton later began the national park service inspired blanket line, which brightly striped blankets to honor several of the US national parks. The first was the Glacier National Park Service (NPS) blanket, that harkens to the Hudson Bay blanket design.

Many other striped blanket designs followed, including two that I used as the inspiration for the other two pumpkins I painted, the Rainier NPS blanket (red base) and the Crater Lake NPS blanket (blue base).


What You’ll Need For Your Pendleton-Style Striped Pumpkins:
- Faux Pumpkin(s), any size, any color
- Photo of your inspiration blanket of choice
- Acrylic Paints
- Paintbrushes
- Laser Level or thumbtacks & string

How to Make Your Own Pendleton-Style Striped Pumpkins
1. Paint Desired Base Color(s).
I’d suggest printing out some pictures of the blankets you’re trying to paint. It helped me to have a template of sorts I could look at as I painted my pumpkins.

Using acrylic paint, or spray paint, paint or spray on your base paint coat. I made three striped pumpkins, each with a different base coat (off-white, blue and red).

2. Trace Stripes Using Laser Level.
After trying a couple of different methods to get some straight lines around my pumpkins (rubber bands, and ribbons were my first two attempts) I settled on using a laser level (Dave’s idea, not mine), which worked great!

If you don’t have a laser level, you can use some thumbtacks and string. Tack the string around your pumpkin in several spots for each stripe. Just eyeball the string to get it as level as possible before painting.
In order to get the stripes traced in the correct spot, first, decide how large to make the stripes on each pumpkin (based on the size of each pumpkin and how many stripes you need to paint).
Once you know the size of your stripes, it’s time to trace (or tack) your lines.

I used a stack of books to place the pumpkin at different heights in relation to the laser level so I could trace each stripe I needed.
Not going to lie, the traced stripes looked pretty wonky still (it’s hard to trace a straight line around a cylindrical object!), so I relied a lot on my eye as I painted to make sure it looked like I was staying relatively straight.
3. Paint Stripes.
Go time! Just start painting those stripes! It’s a kind of slowish process, but painting is a joyful thing for me.

Seasonal crafts always get me in the mood for the upcoming holidays, so I was so happy to make these striped pumpkins and have a reason to pull out my art brushes.

And the kids loved how they turned out, as do I! The stripes aren’t perfect, and they certainly don’t look store-bought, which I think adds to their coolness.

I hope that you’ll enjoy this seasonal craft! If you decide to paint a striped pumpkin of your own, I’d love to see it!

More seasonal craft and decorating ideas…
Guess what? Things get even better because today I’m joined by a talented group of blogging friends who are also sharing their Halloween DIY ideas with you! Just click on the links below the images to be taken to see their full posts ⤵️

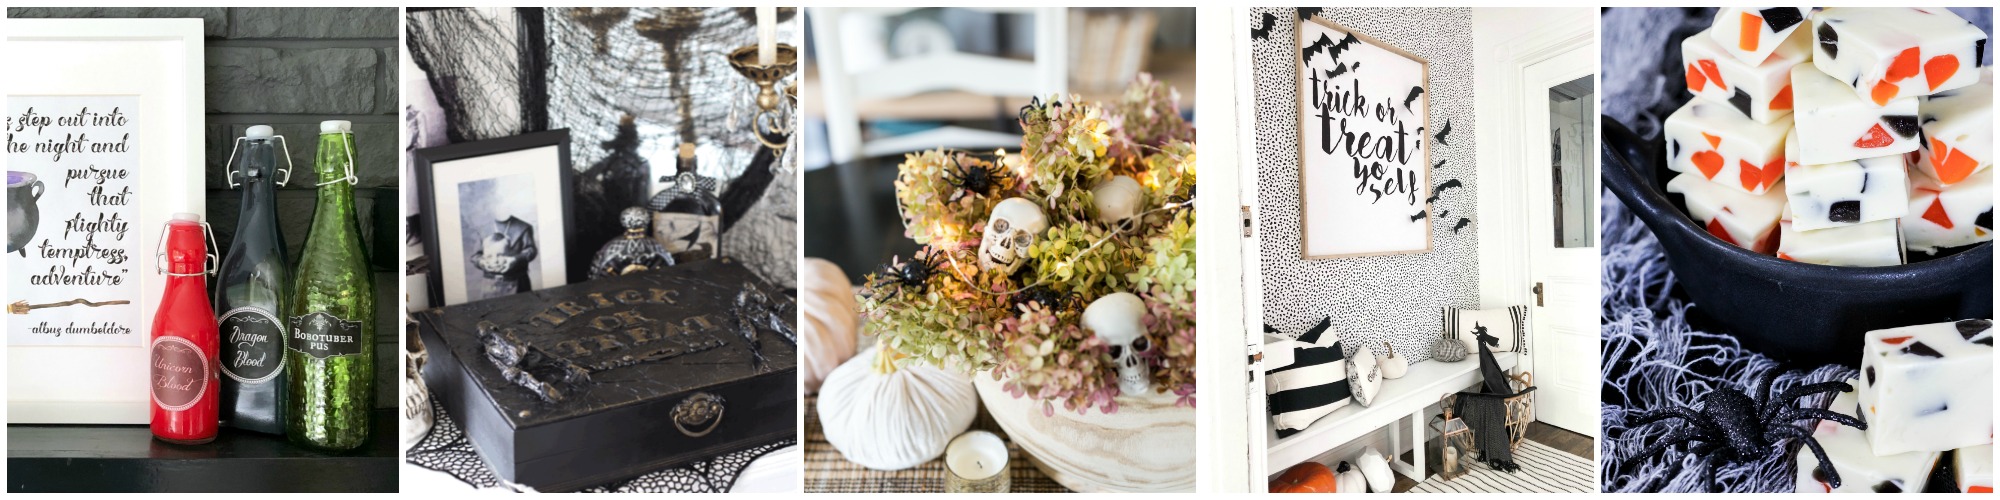
Potion Bottles with Printable Labels at The Happy Housie
DIY Halloween Prop from $2 Flatware Box at Confessions of a Serial Do It Yourselfer
DIY Halloween Centrepiece at House by Hoff
Modern Farmhouse Halloween Entry at Tatertots and Jello
Halloween Nougat Candy at A Pretty Life
DIY Halloween Floral Headband at Two Twenty One
Halloween Mantel with Free Printable at The Handmade Home
Painted Hudson’s Bay Blanket Pumpkins at The Heathered Nest
DIY Halloween Flag at Cassie Bustamante
Poison Apple Pumpkins at All Things With Purpose
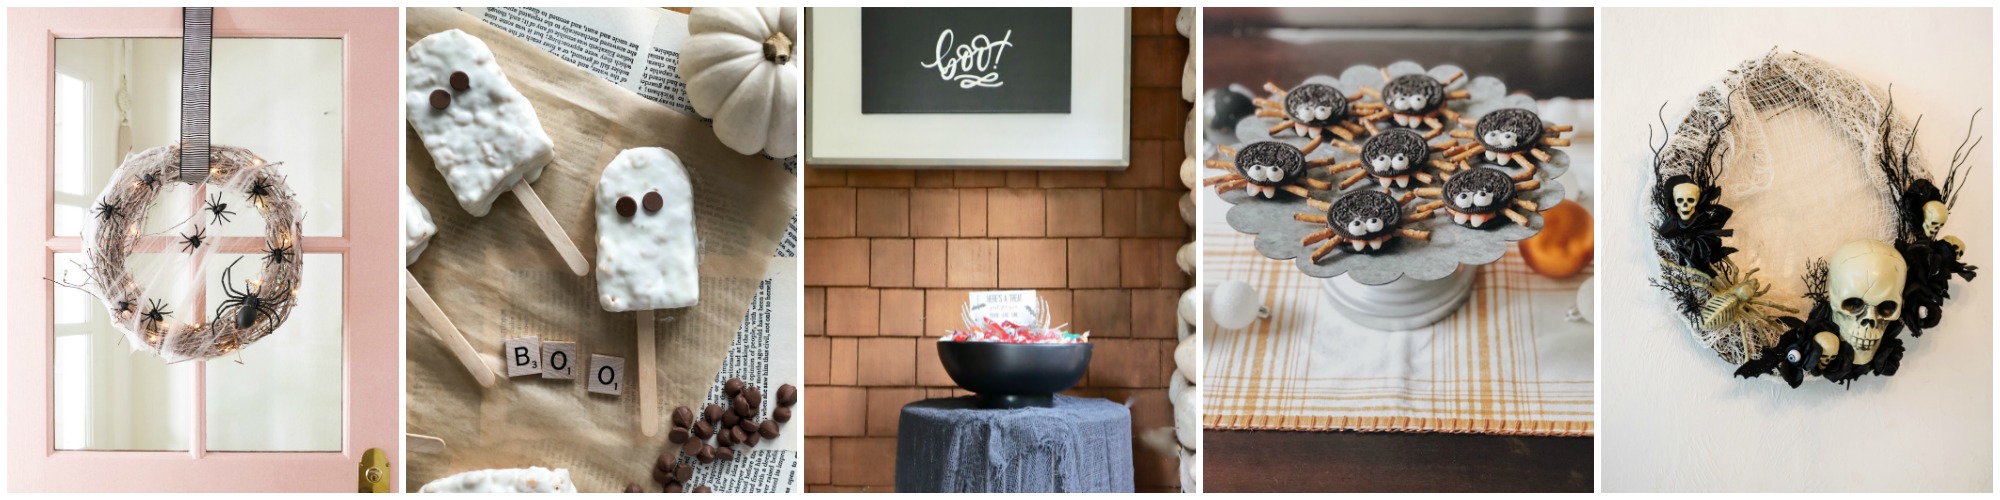
Easy DIY Halloween Wreath at Modern Glam
Ghost Rice Krispie Squares at Life is a Party
How to Make a Halloween BOO Sign at My Sweet Savannah
Silly Spider Cookies at She Gave it a Go
Creepy Halloween Wreath at Hallstrom Home
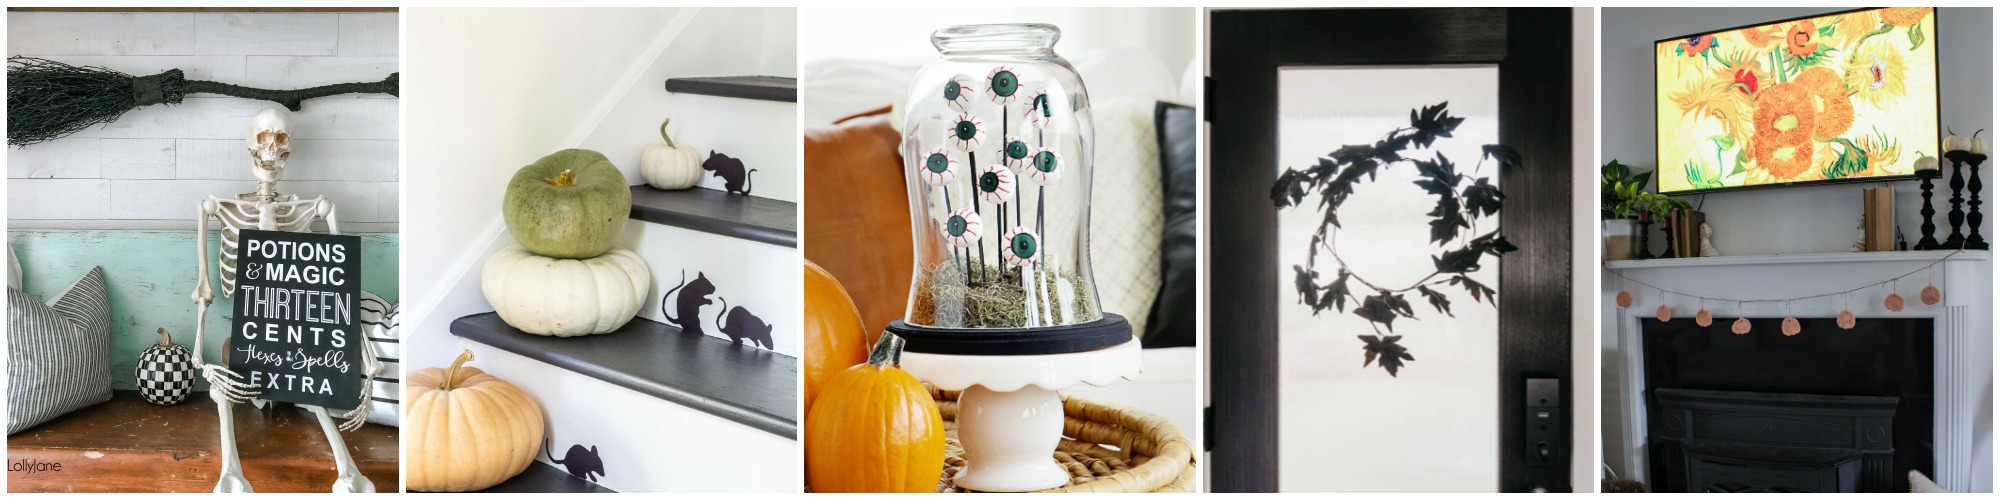
DIY Potions and Magic Halloween Sign at Lolly Jane
Paper Staircase Mice at Sincerely, Marie Designs
Spooky DIY Eyeball Terrarium at Paint Me Pink
Minimalist Halloween Wreath at Lemon Thistle
DIY Salt Dough Garland at Aratari at Home
Pin this striped pumpkin idea for later! And if you make one, leave a comment (or better yet, a photo) on the pin! That helps others know whether they want to try this project, too!

Before you leave, make sure to grab your free copy of 60 Simple Decluttering Wins – a list of 60 quick decluttering and organizing tasks that can each be completed in just 5 minutes time! Because the holidays are stressful enough without having to deal with clutter and disarray at home! LESS clutter = MORE holiday stress-free fun!


April N Hoff says
These are so cute, and look perfect in your little guy’s room! Love!!!